

Homeowners often ask how much it costs to install central air conditioning, but the answer varies from one home to another. Factors such as home size, existing HVAC equipment, ductwork, and electrical requirements all influence the overall investment. If you’re considering air conditioner installation in Seattle, understanding these factors can help you set realistic expectations and better understand what contributes to the total cost. Looking beyond the equipment itself provides a clearer picture of the complete installation process.

Why There Isn’t One Standard Installation Price
Unlike purchasing a household appliance, central air conditioner installation is tailored to each home. Costs vary because every property has different cooling needs, layouts, and existing HVAC systems. Installers evaluate factors such as ductwork, electrical capacity, airflow, and the home’s overall design before recommending a system. While some homes are ready for installation with minimal changes, others may require upgrades. An in-home assessment provides the clearest understanding of the work involved and the overall installation cost.
Home Size Plays a Major Role
One of the biggest factors affecting installation cost is the size of the home.
Larger homes typically require cooling systems capable of handling greater square footage. Installing equipment that is too small can make it difficult to maintain comfortable indoor temperatures, while oversized systems may cycle on and off too frequently, reducing efficiency and increasing wear on components.
During the planning process, HVAC professionals perform load calculations that consider factors beyond floor area. They may evaluate:
- Total square footage
- Ceiling height
- Window placement
- Sun exposure
- Insulation levels
- Number of occupants
These factors help determine the cooling capacity needed for consistent comfort throughout the home.
The Type of Cooling System You Choose
Not every home requires the same type of cooling equipment. The system selected has a significant impact on both installation complexity and overall project cost.
Central Air Conditioning
Traditional central air conditioning systems distribute cooled air through ductwork already installed within the home. These systems work well for many houses that already have forced-air heating systems and properly designed ductwork.
If existing ducts are in good condition, installation may be more straightforward than in homes requiring major modifications.
Heat Pumps
Many homeowners also consider heat pumps because they provide both heating and cooling from a single system. Heat pumps have become increasingly popular in the Seattle area due to the region’s relatively moderate climate.
Depending on the home’s existing equipment and electrical infrastructure, installing a heat pump may involve different considerations than installing a traditional central air conditioner. Evaluating your home’s heating and cooling needs together can help determine which option best fits your long-term goals.
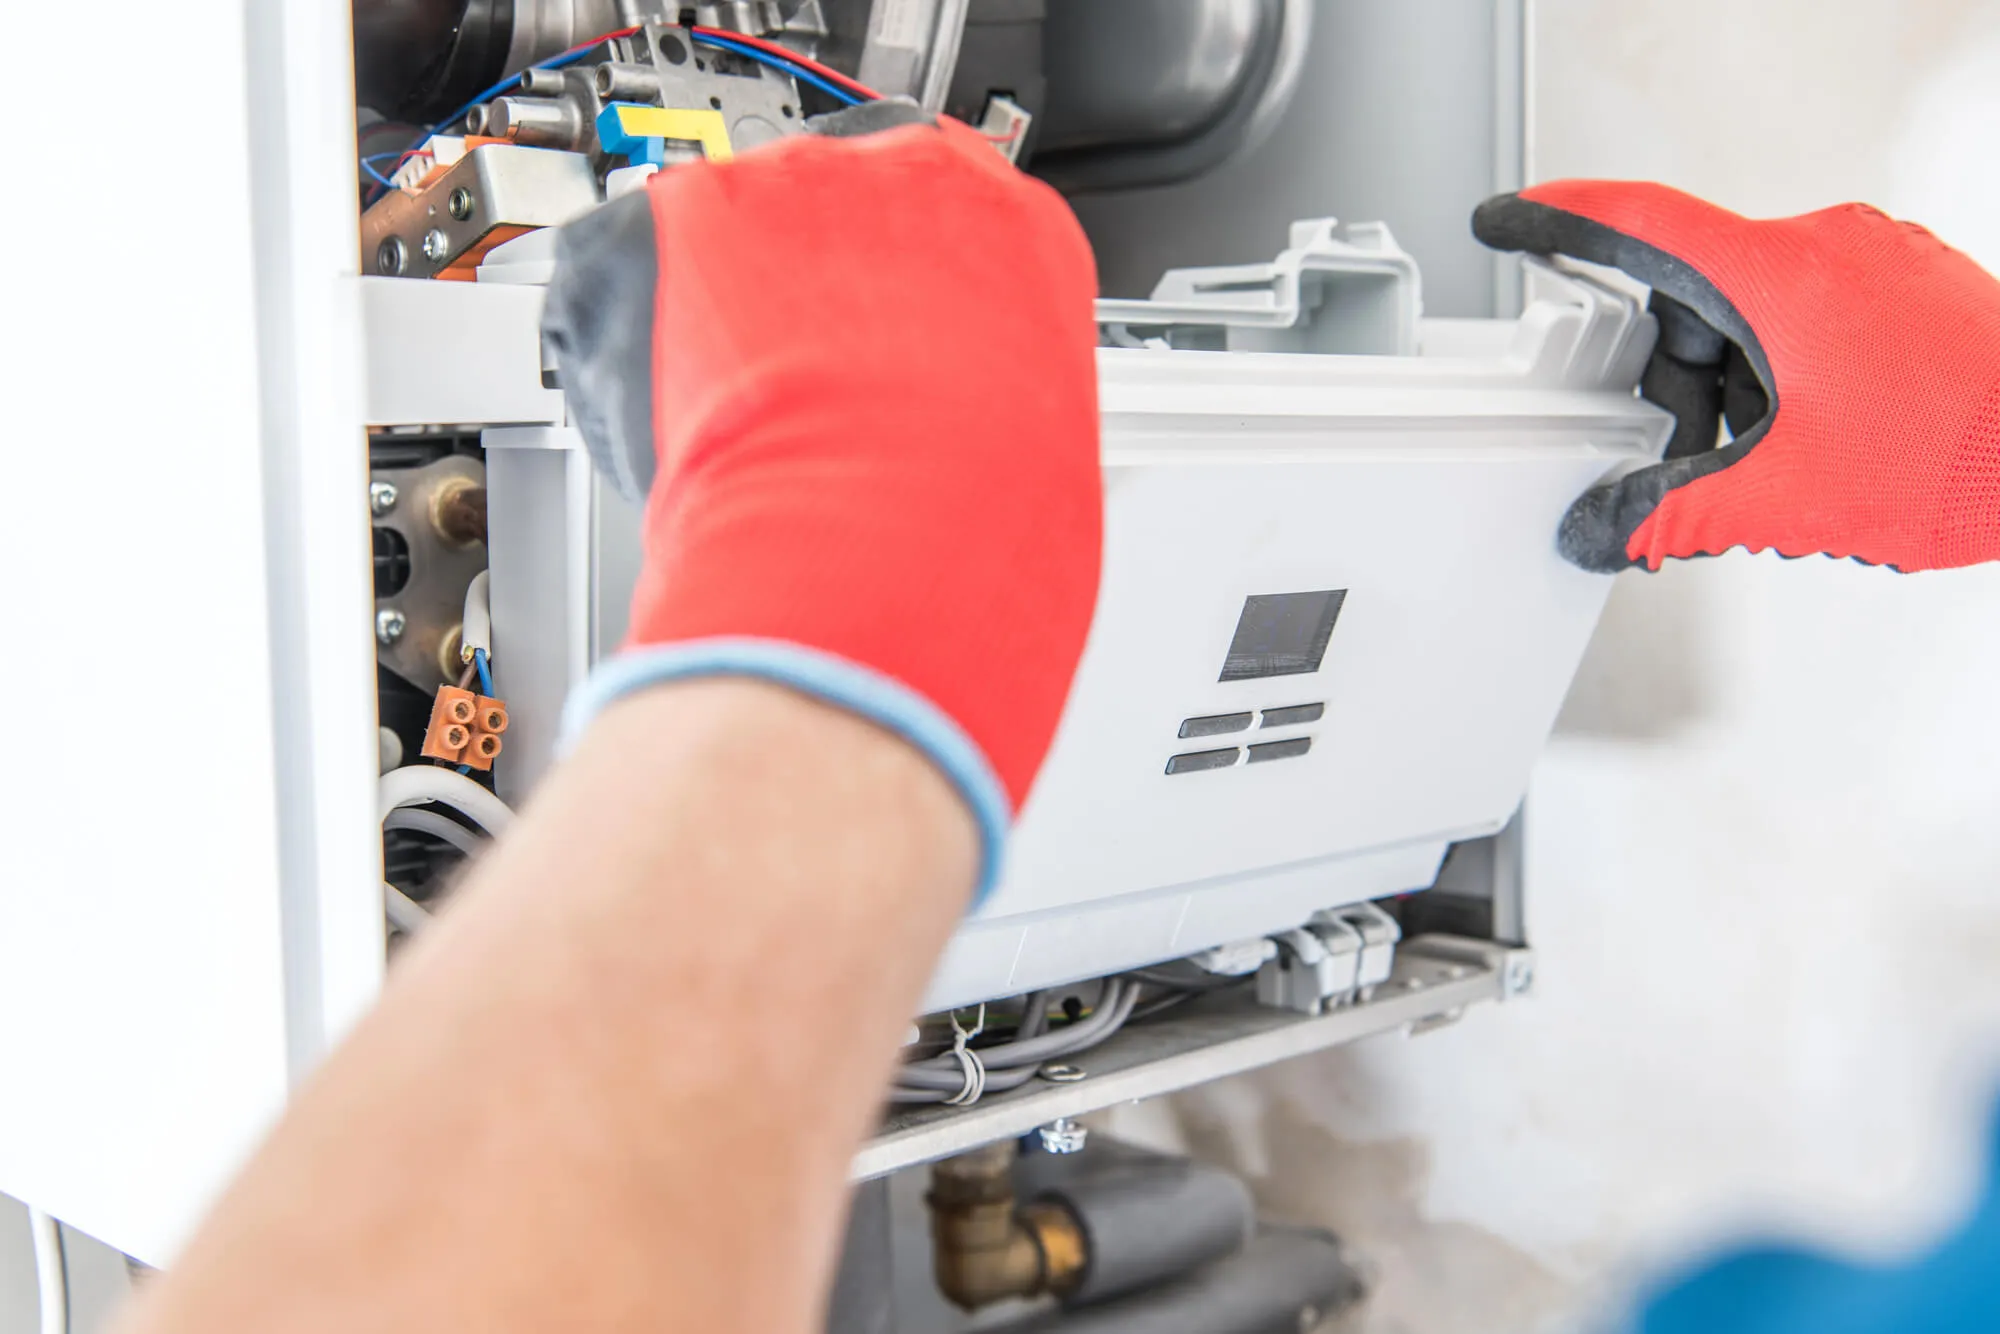
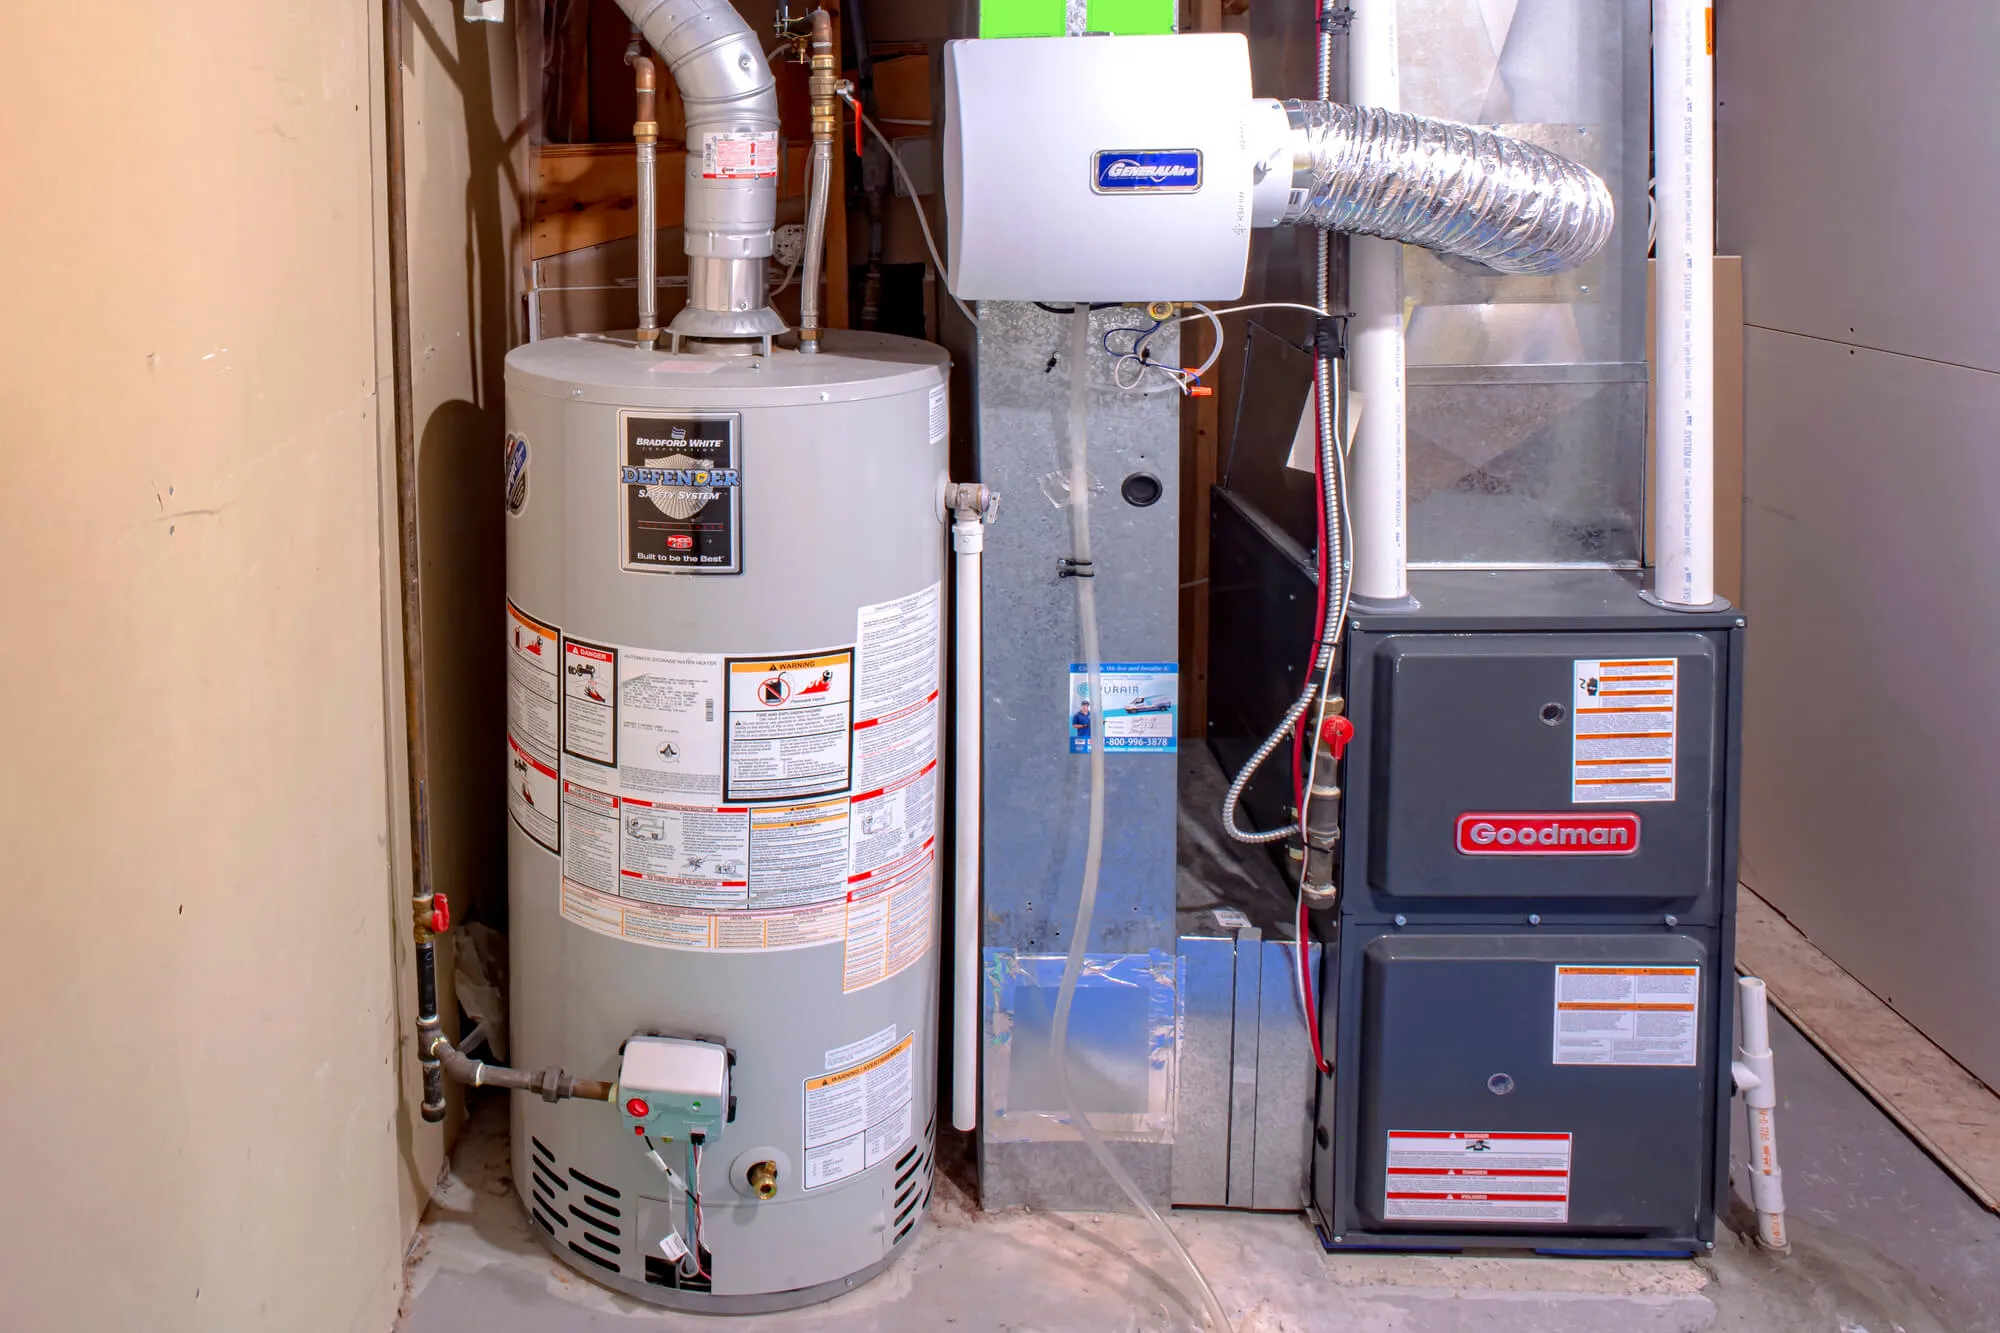
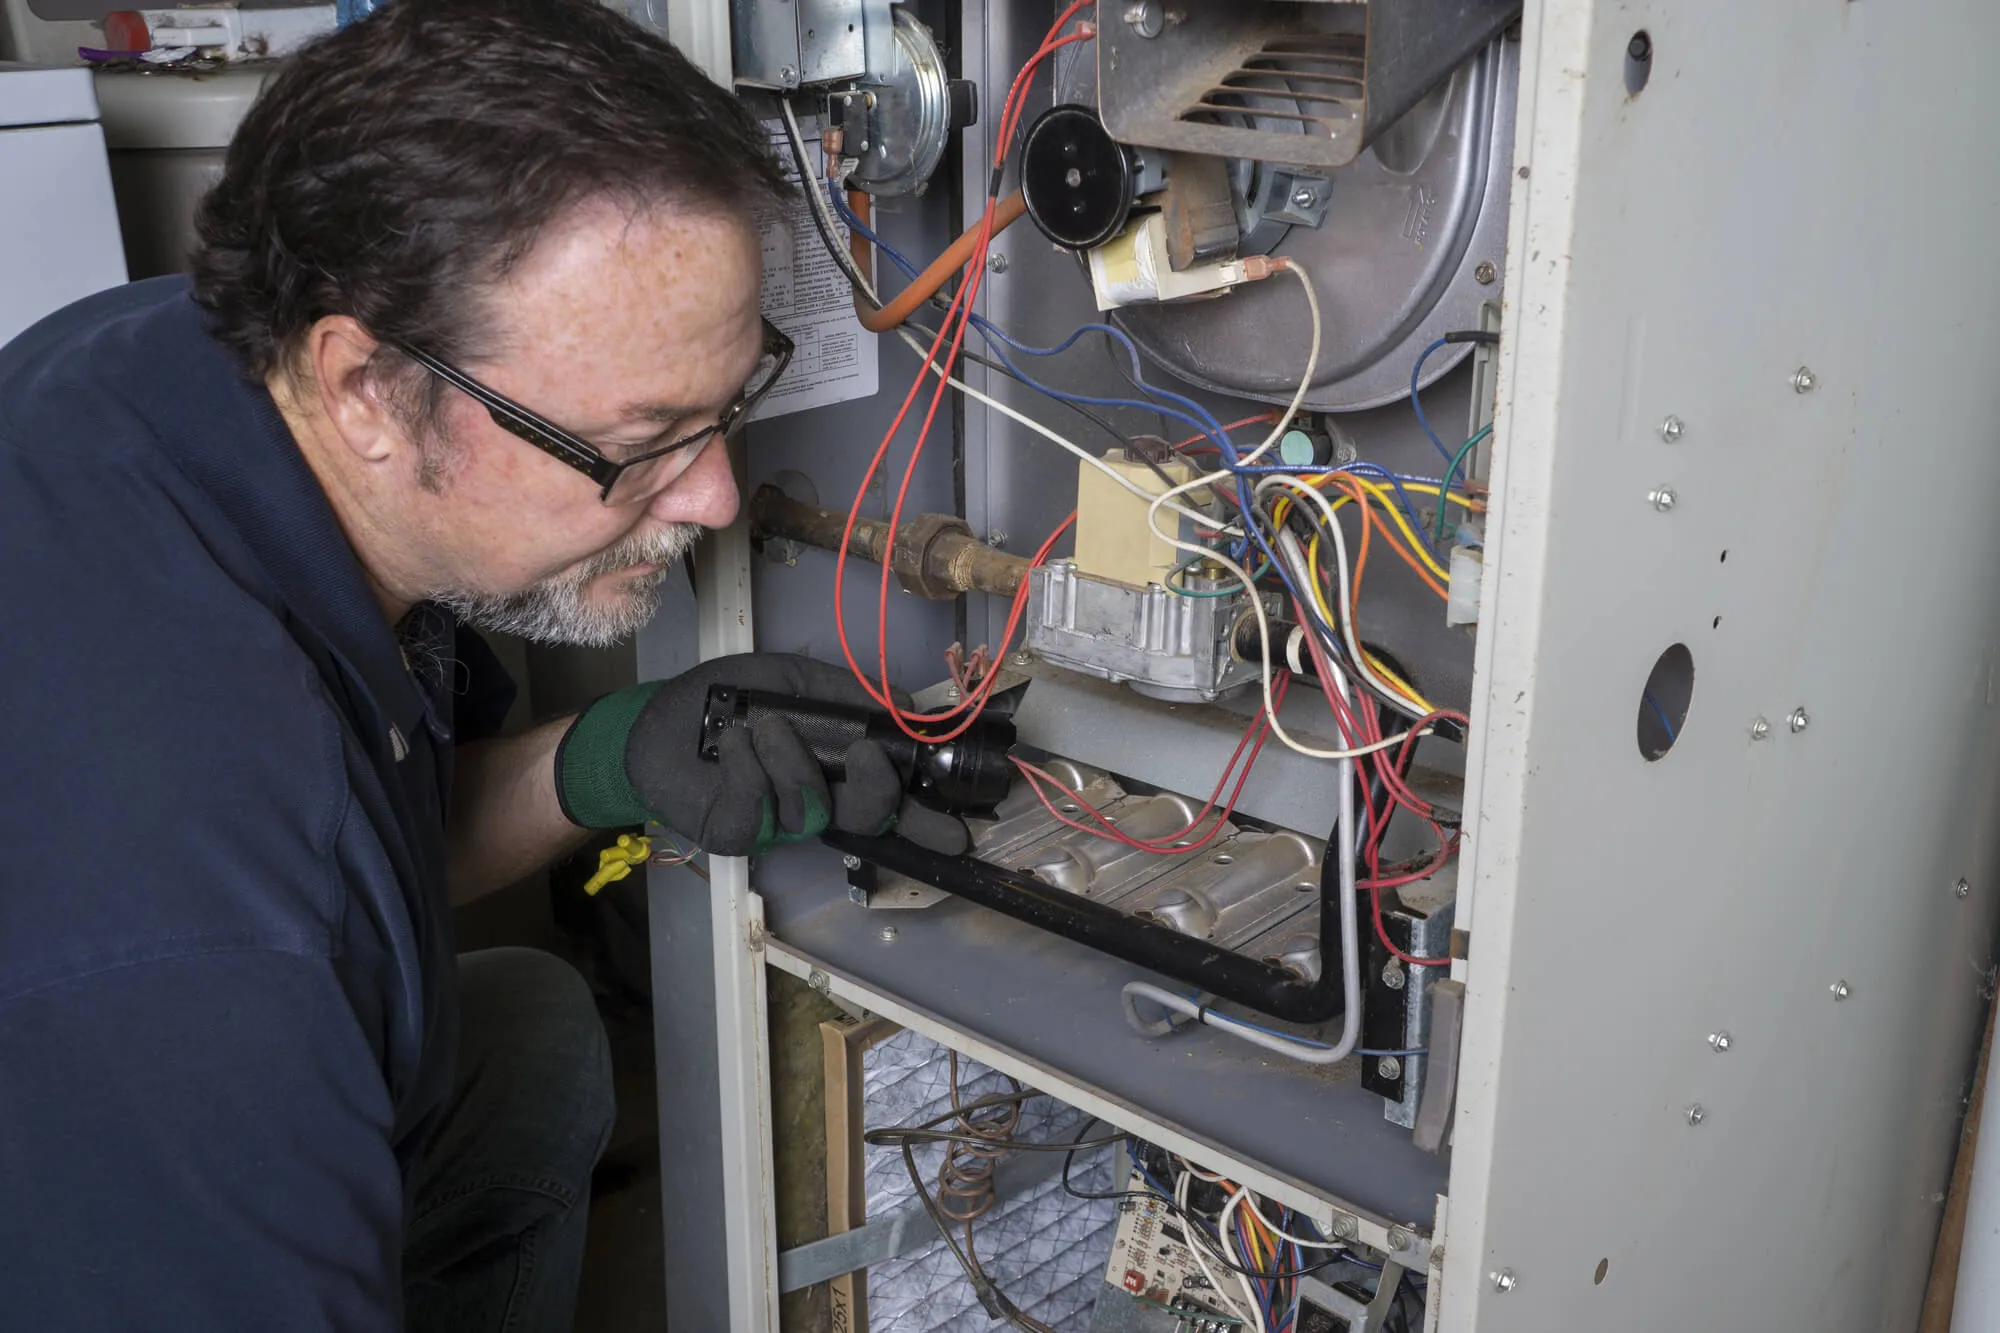
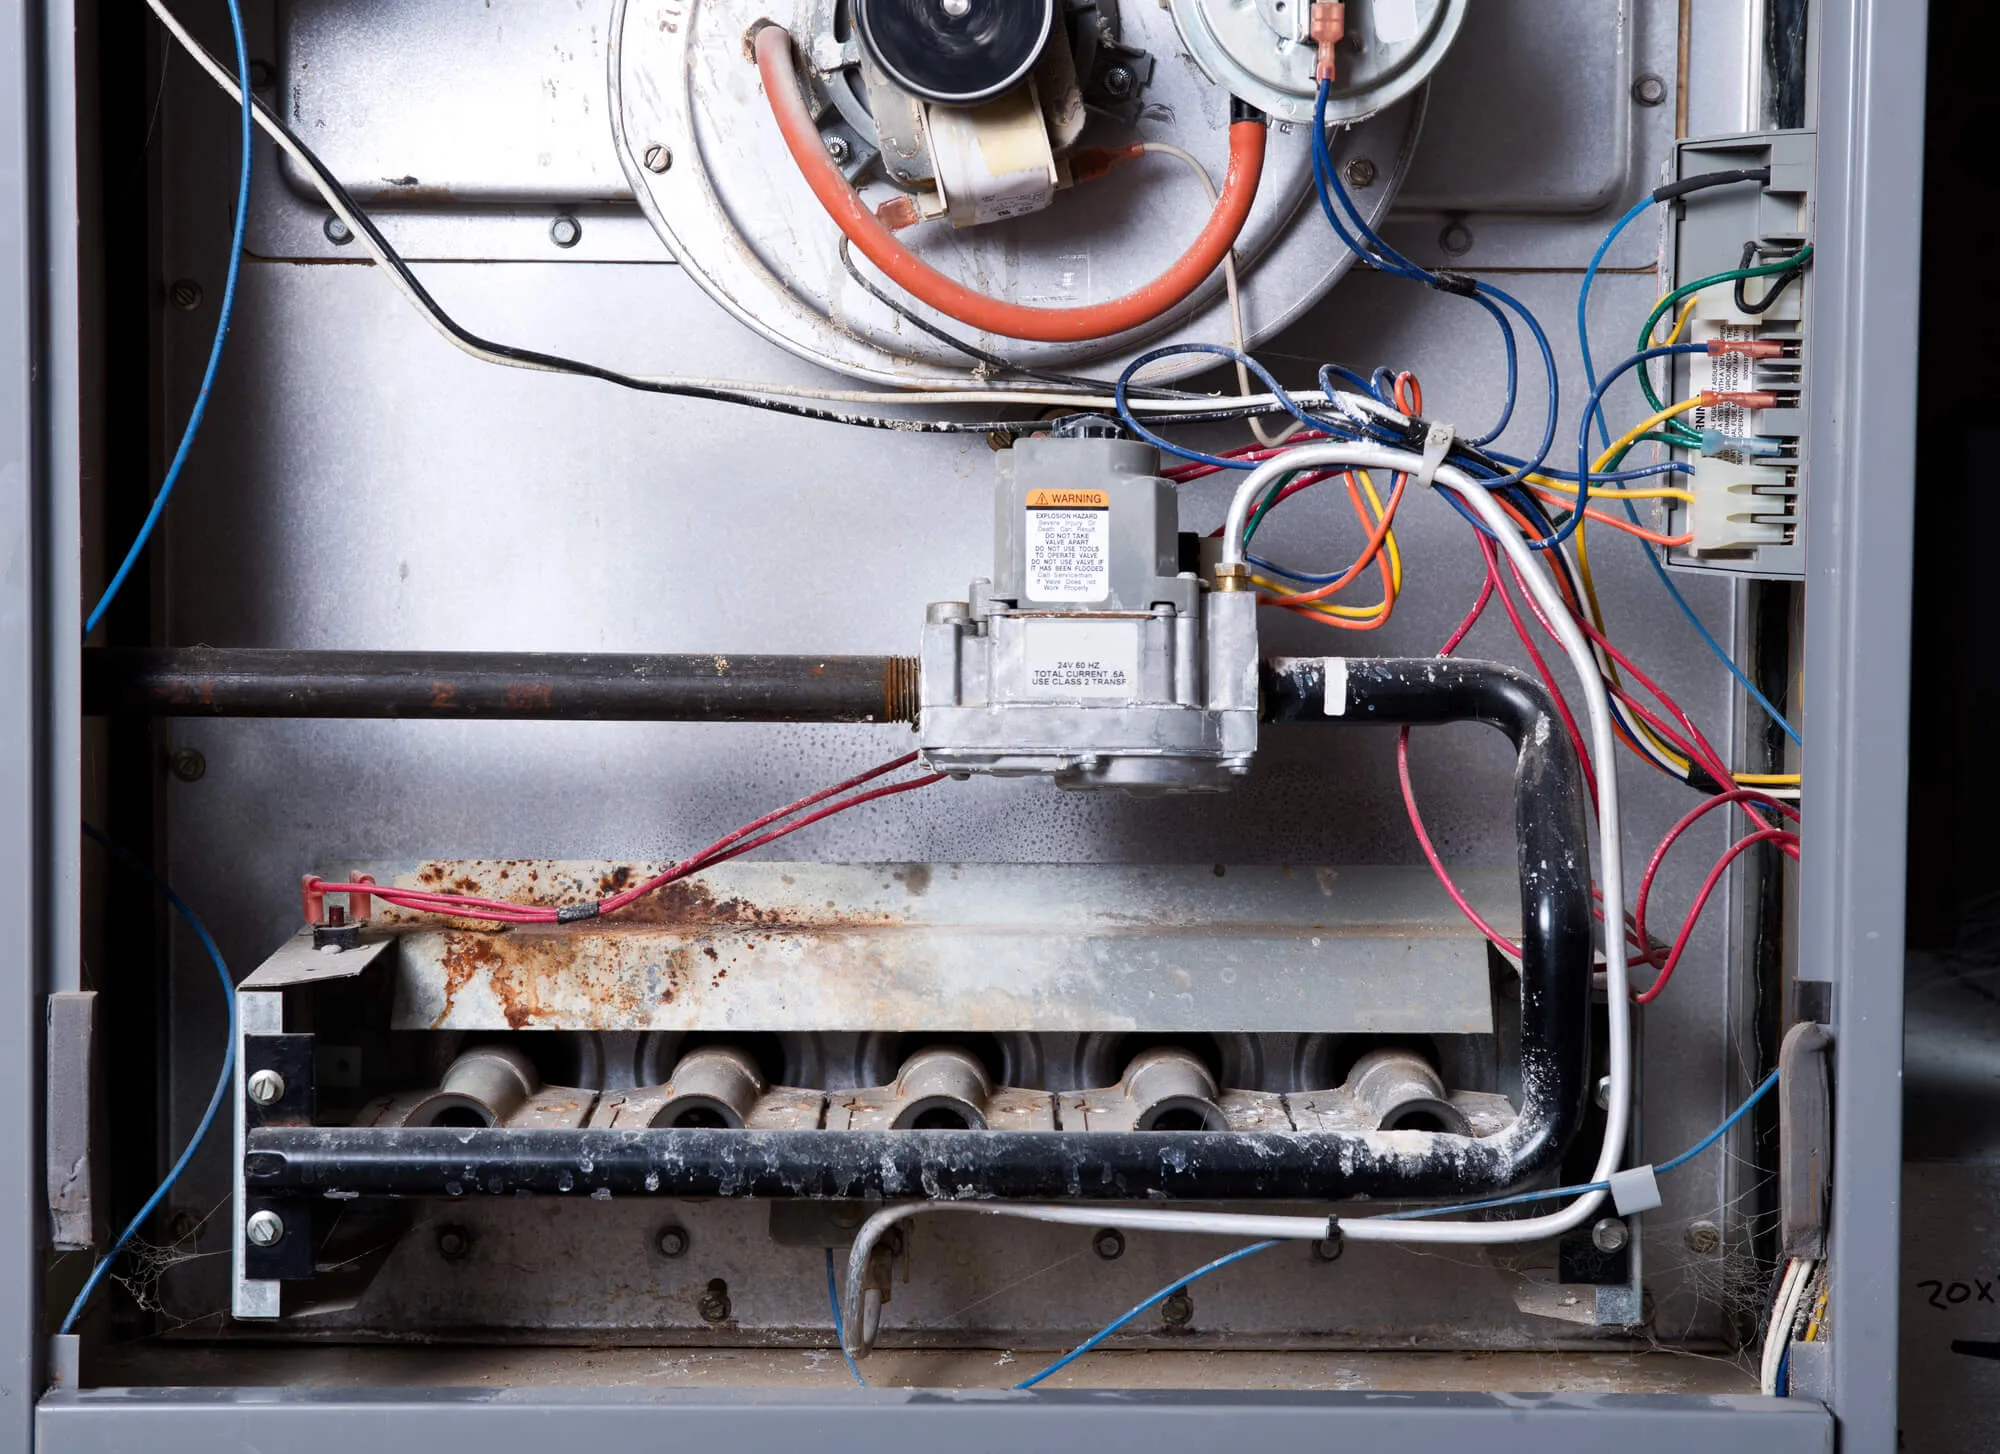
Existing Ductwork Can Influence Costs
The condition of your home’s ductwork can significantly affect installation costs. Even if a home already has ducts, they may not always be ready to support a new air conditioning system.
During an evaluation, installers may inspect the duct system for:
- Air leaks
- Damaged sections
- Improper sizing
- Restricted airflow
- Insulation concerns
If repairs or modifications are needed, they become part of the overall installation project.
Older homes built without central air conditioning may require new ductwork. While this increases installation complexity, properly designed ducts help distribute cooled air more evenly and support long-term system performance.
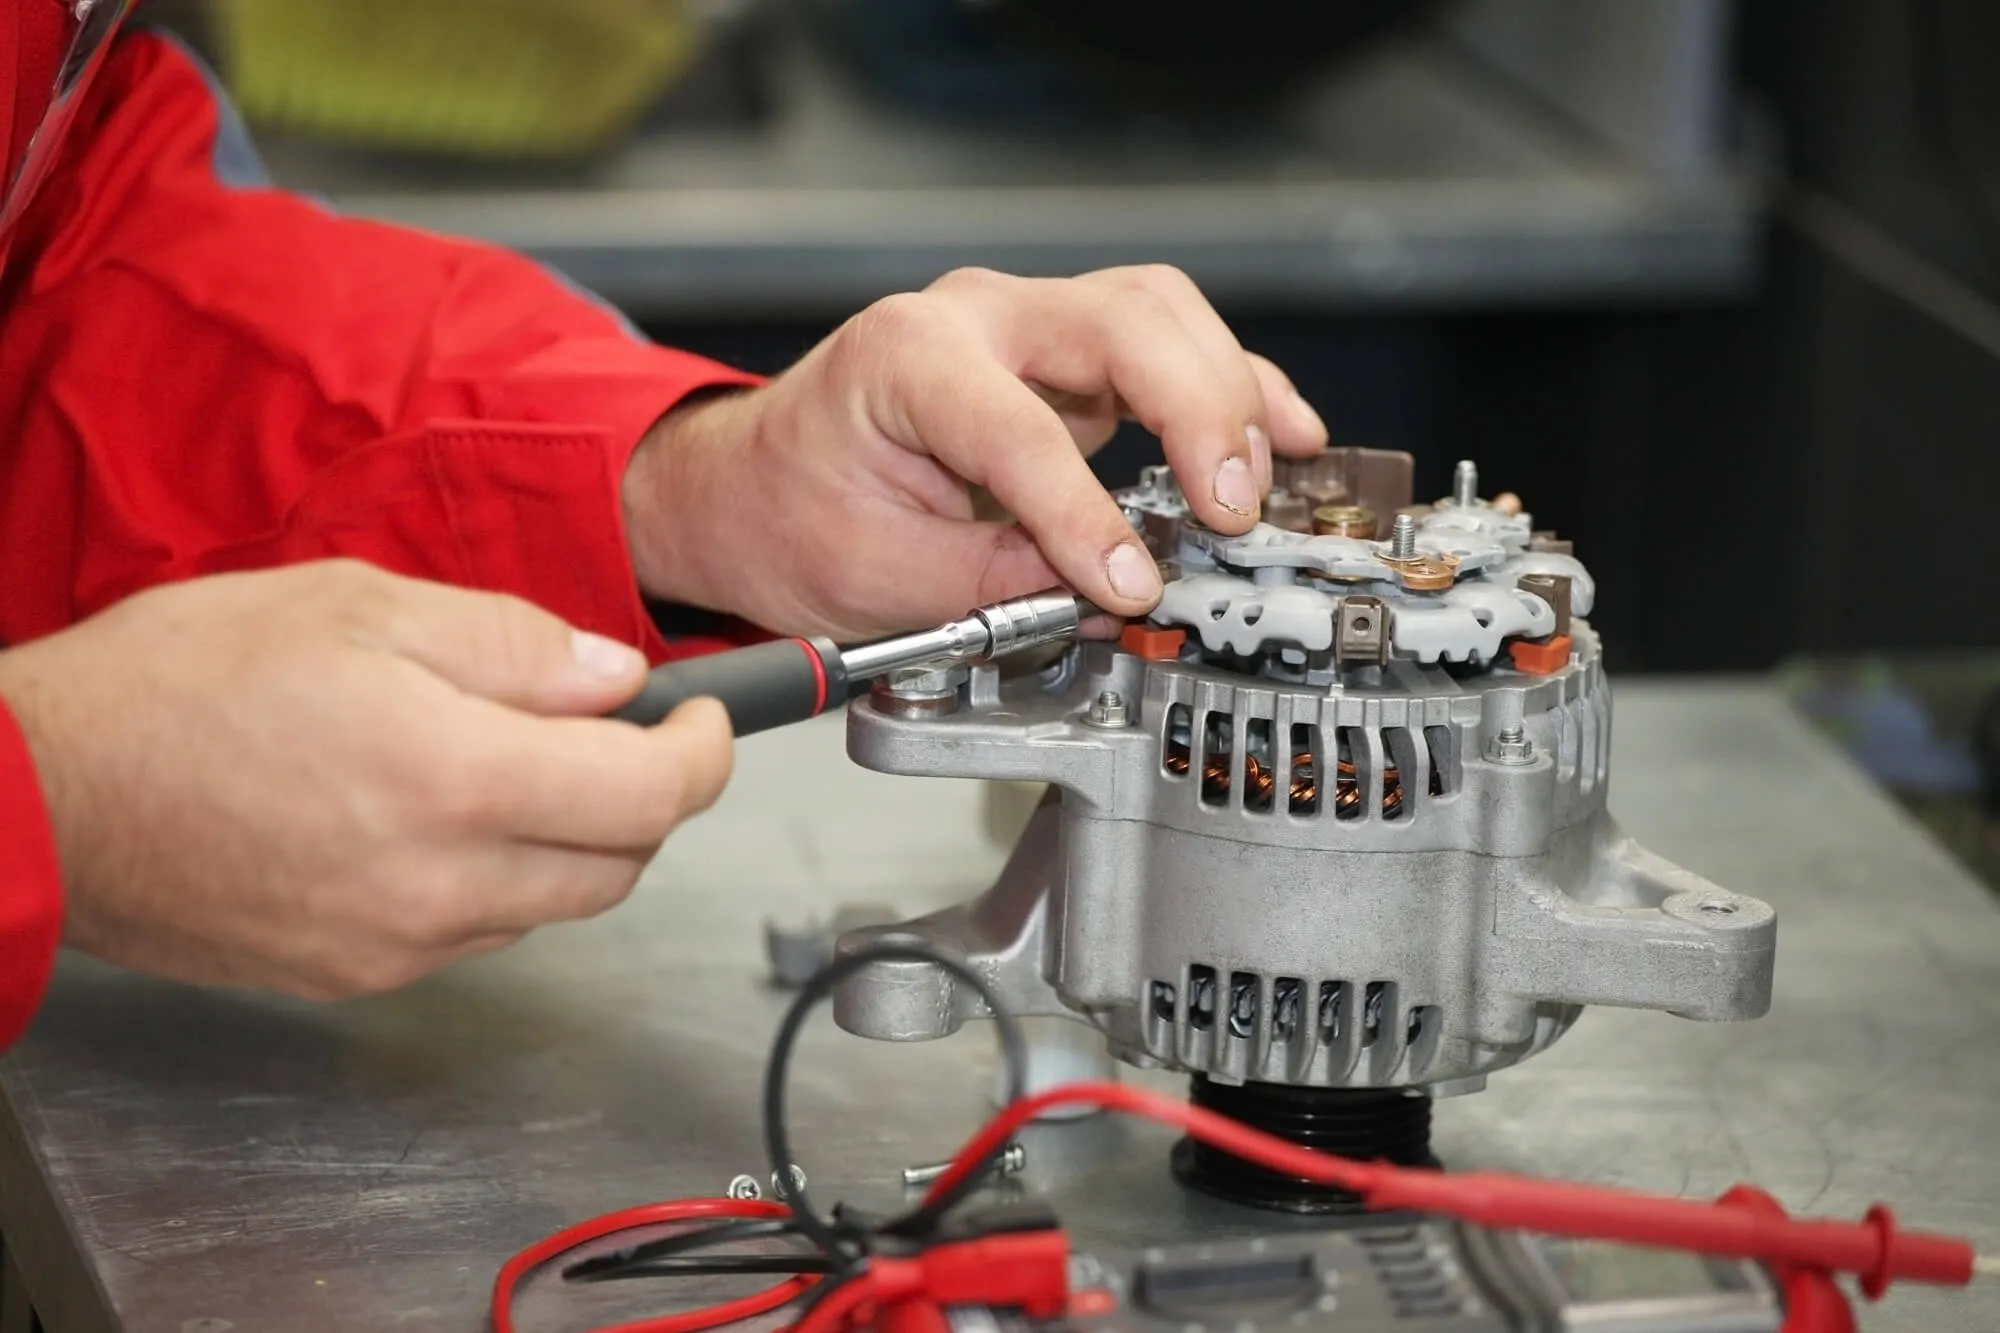
Electrical Upgrades May Be Necessary
Central air conditioning systems require adequate electrical capacity to operate safely. Before installation begins, the home’s electrical system is often evaluated to determine whether it can support the additional equipment.
Depending on the age of the home, upgrades may include:
- New electrical circuits
- Breaker panel modifications
- Updated disconnects
- Code-compliant wiring
These improvements help prepare the home for the new system while meeting current electrical safety requirements.
Although not every installation requires electrical upgrades, they are an important factor that can affect the project’s overall cost.
Energy Efficiency Can Affect the Initial Investment
Today’s air conditioning systems are available in a wide range of efficiency levels. Higher-efficiency equipment often features advanced technology that delivers more consistent cooling while using less energy.
Features that may influence equipment cost include:
- Variable-speed compressors
- Two-stage operation
- Enhanced humidity control
- Smart thermostat compatibility
While higher-efficiency systems generally require a larger initial investment, many homeowners consider long-term operating costs alongside upfront installation expenses. Choosing equipment that matches both the home’s cooling needs and the homeowner’s priorities is often more valuable than focusing solely on the purchase price.
Permits and Local Code Requirements
Installing central air conditioning often requires permits and inspections to verify compliance with local building and electrical codes. Requirements vary by project and may include electrical work, refrigerant lines, or HVAC modifications. Professional installers are familiar with these regulations and typically coordinate the permitting process. Including permits and inspections in the project timeline helps support a safe, code-compliant, and efficient installation.
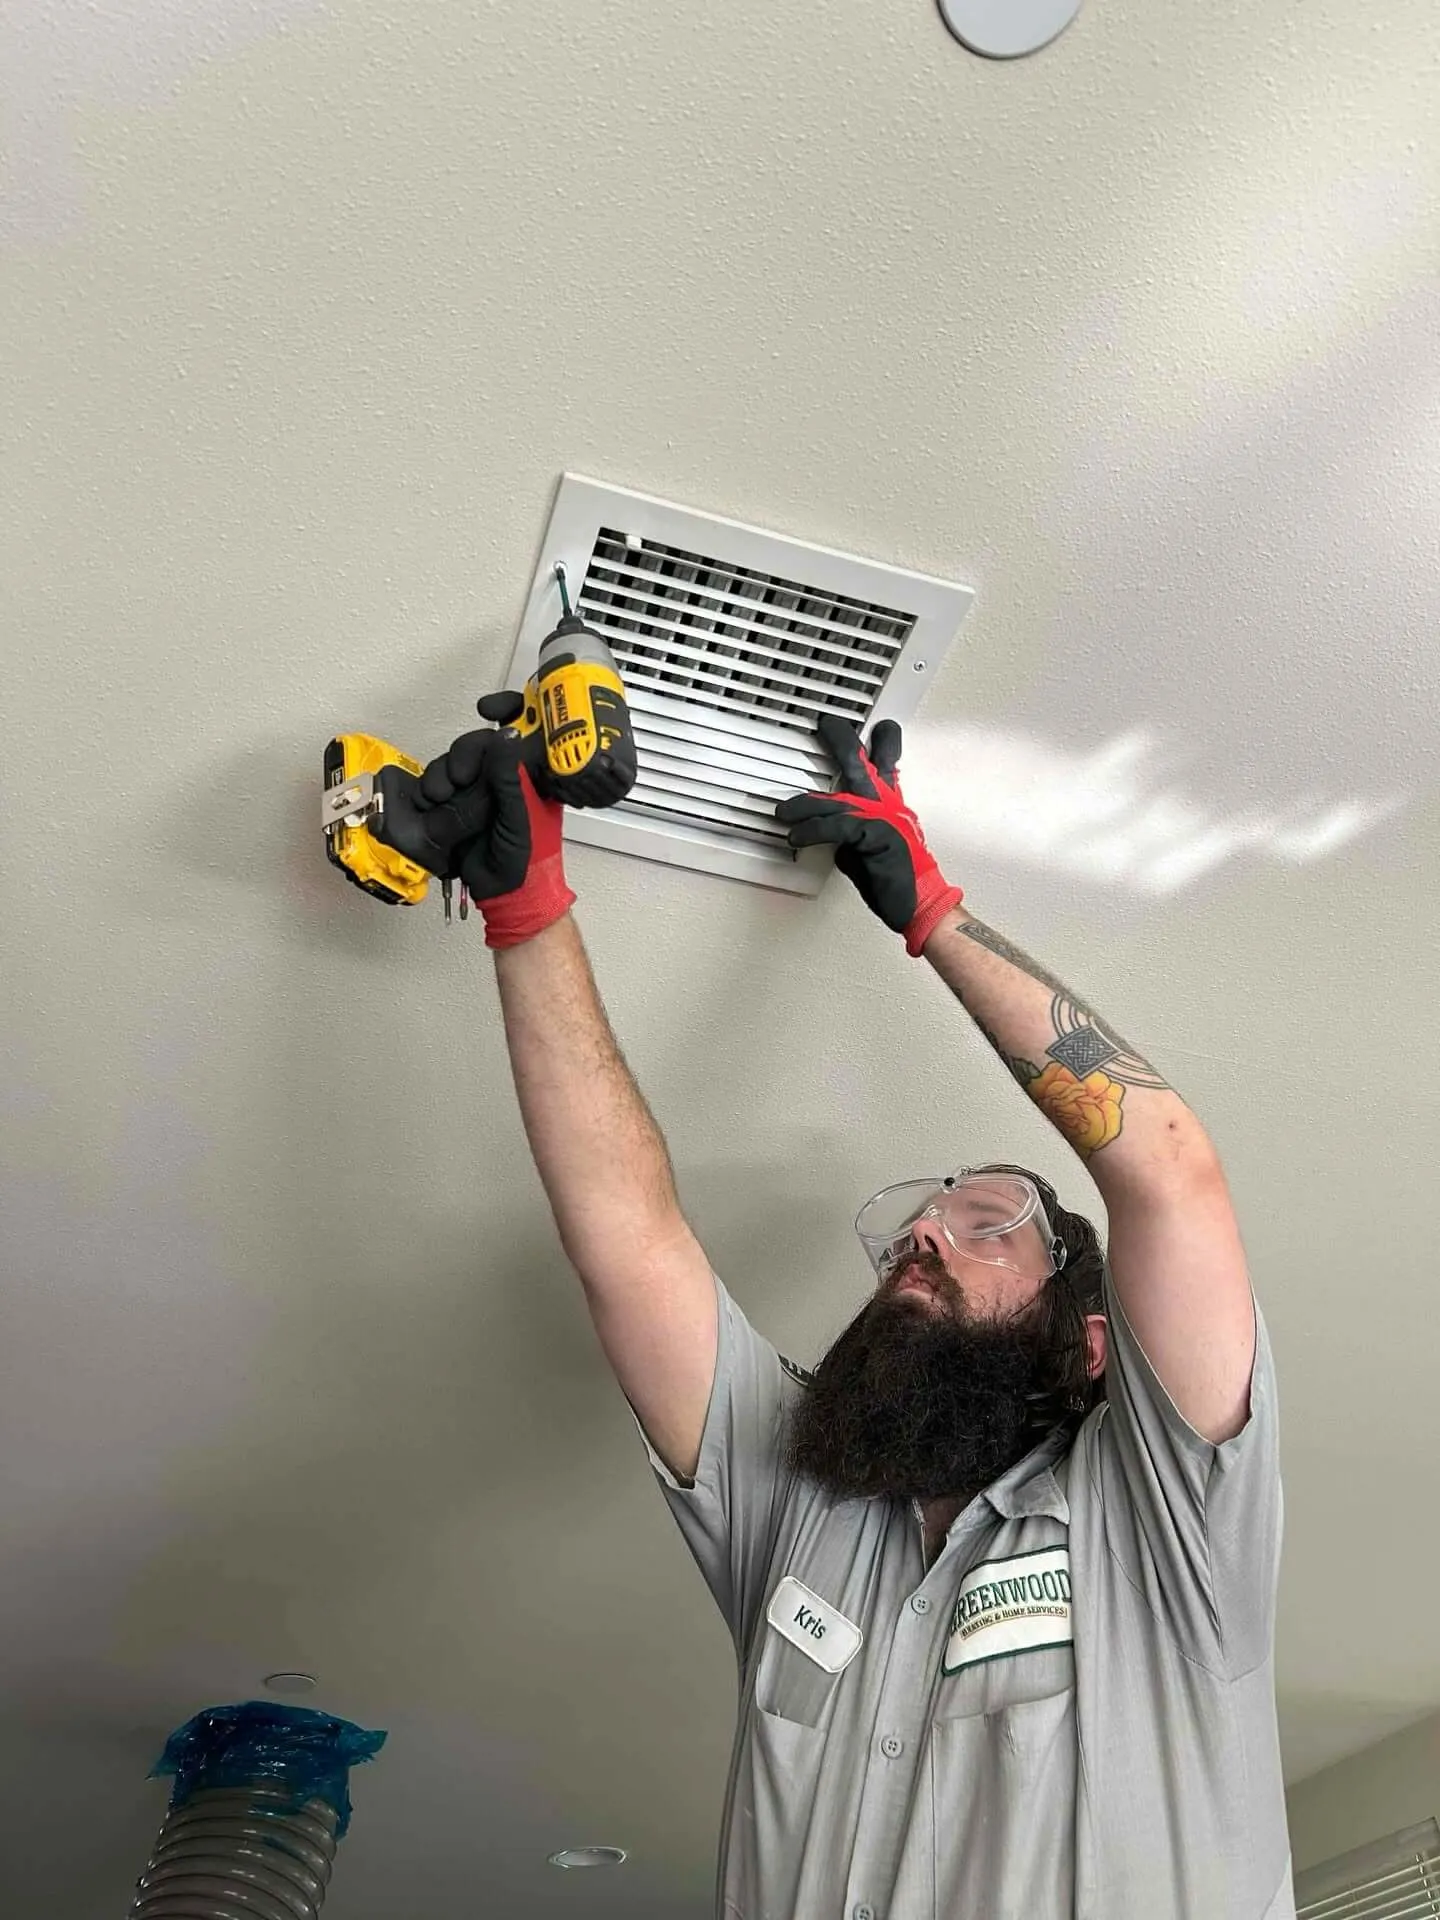
Installation Complexity Can Affect Labor Costs
No two homes are exactly alike, which means installation complexity can vary significantly. While some projects involve replacing an existing air conditioner with a similar system, others require more extensive work to prepare the home for cooling.
Several factors can increase installation complexity, including:
- Limited access to equipment locations
- Older HVAC systems
- Modifications to existing ductwork
- Electrical upgrades
- Multi-story homes
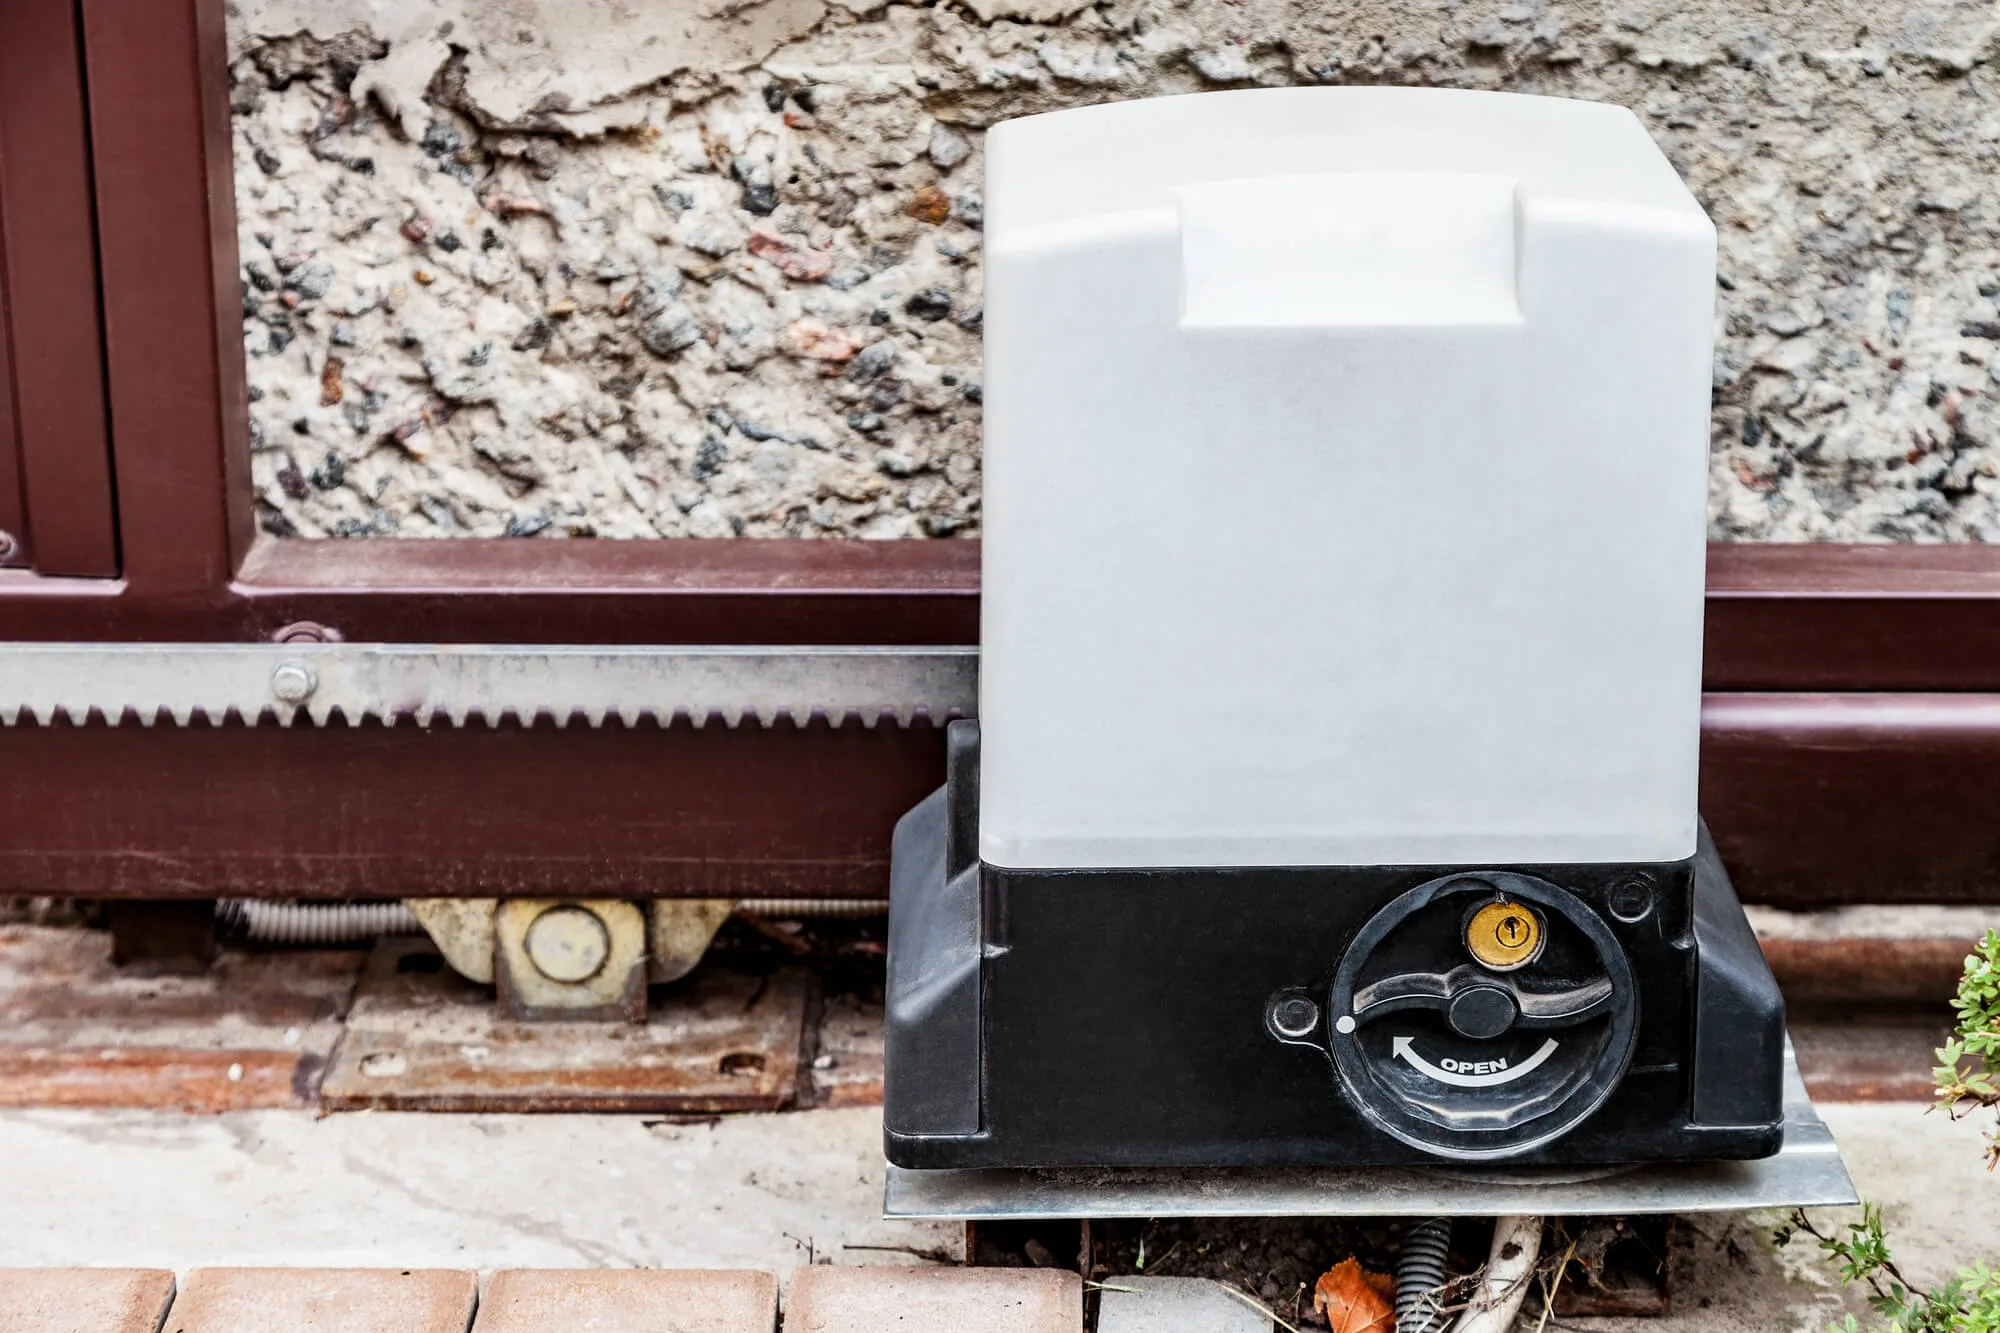
- Space constraints around the outdoor unit
Homes that require additional preparation or system modifications typically involve more labor than straightforward replacement projects. Every installation is planned around the home’s existing conditions to help support reliable performance after the system is installed.
Additional Features May Influence Overall Cost
Many homeowners choose to include upgrades when installing a new central air conditioning system. While these features are optional, they can improve convenience, indoor comfort, or system performance depending on the home’s needs.
Some commonly selected additions include:
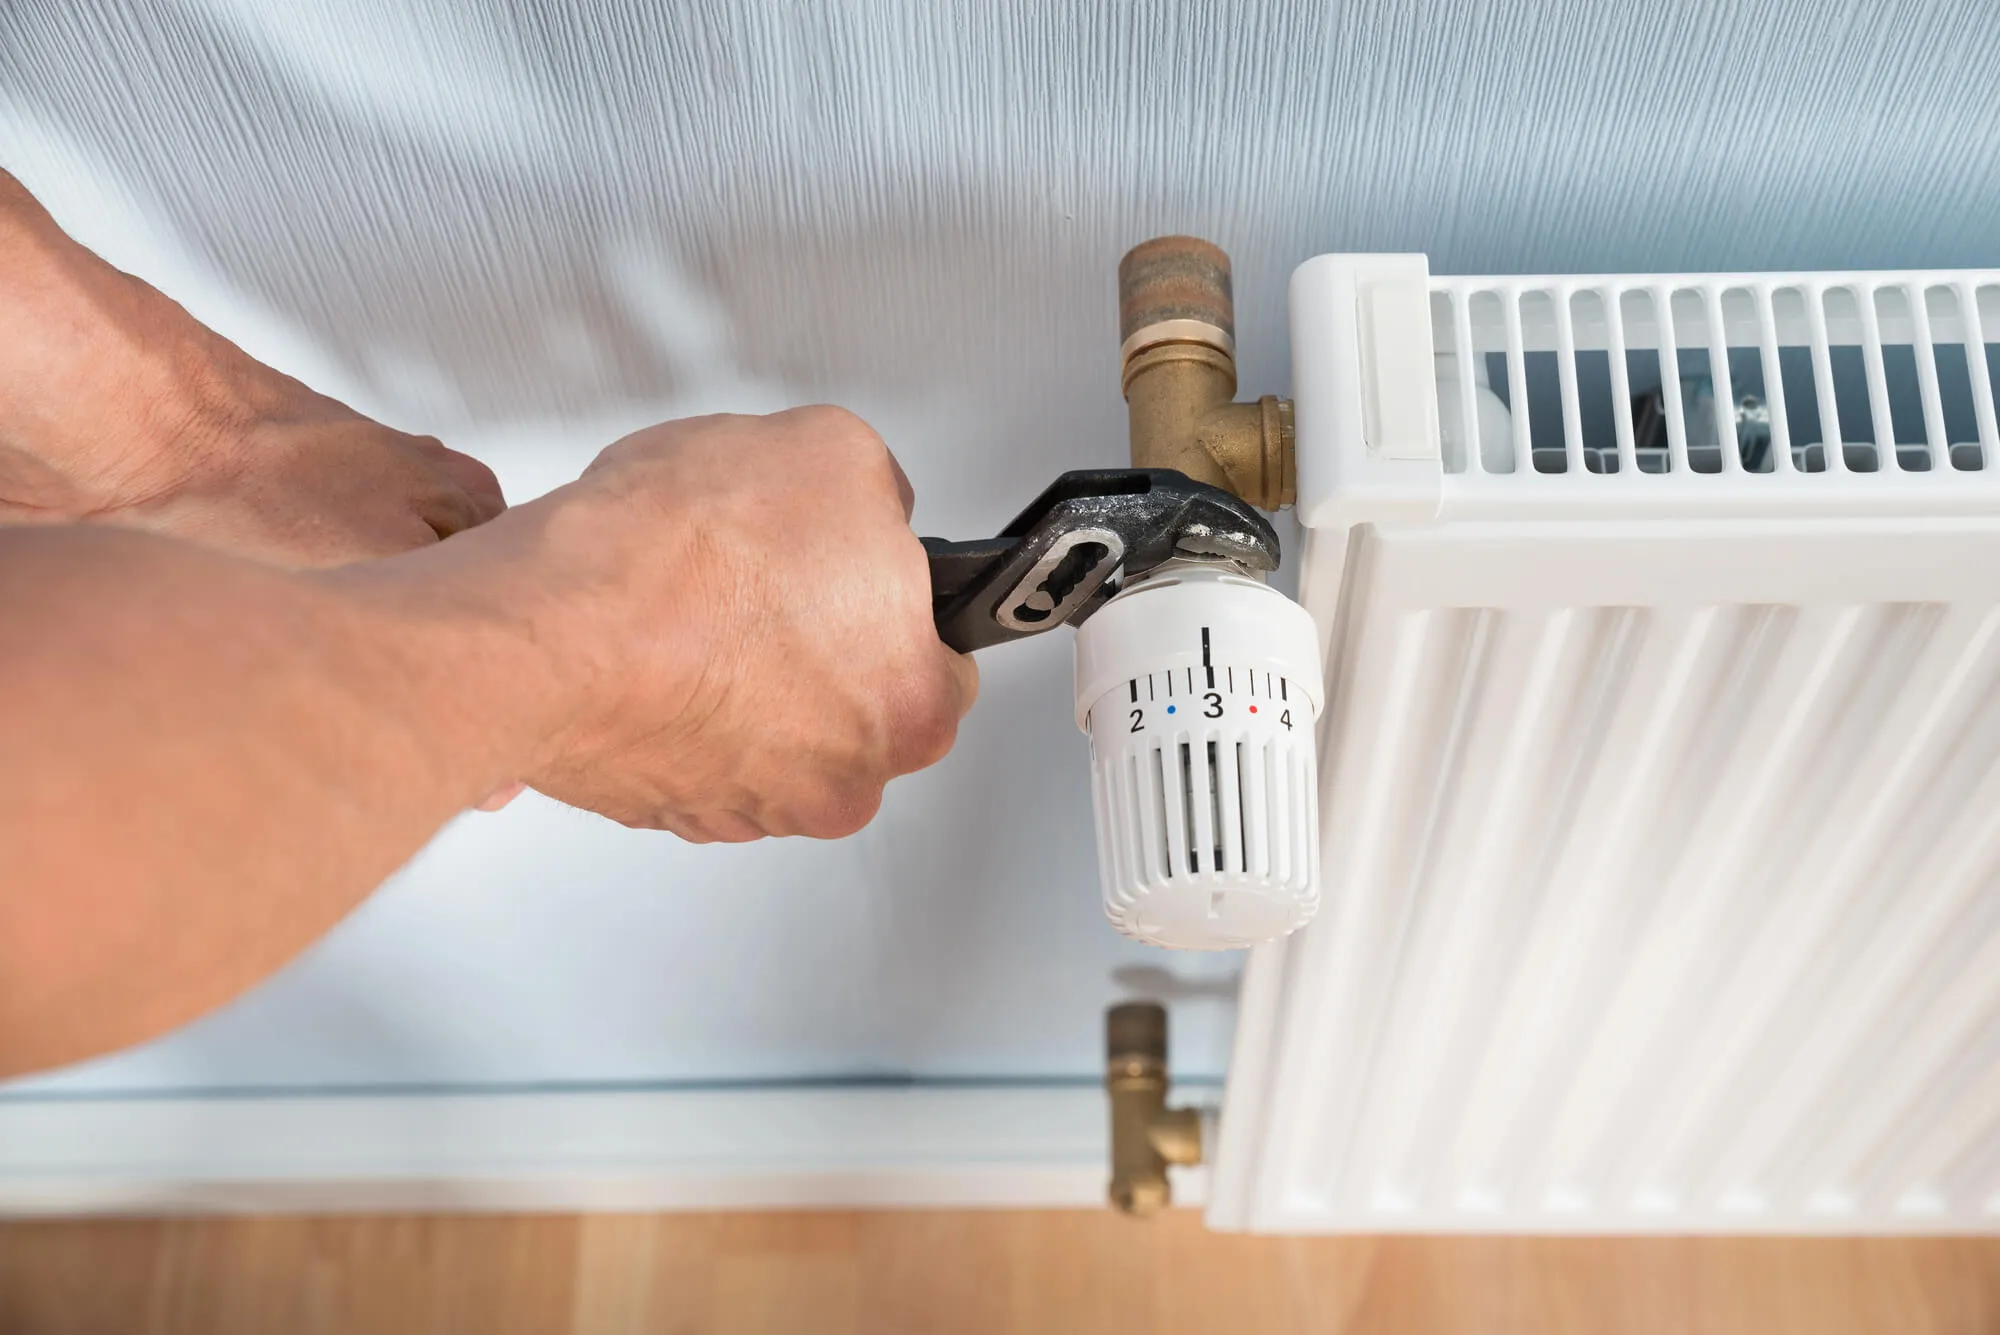
Smart Thermostats
Smart thermostats allow homeowners to adjust temperatures remotely, create schedules, and monitor system operation through mobile devices. They can also help improve overall system management by automatically adjusting temperatures based on occupancy or daily routines.
Indoor Air Quality Products
Some homeowners choose to install indoor air quality accessories alongside a new air conditioning system. Depending on household needs, these may include whole-home air filtration systems, air purifiers, or humidity control equipment that works with the HVAC system to support cleaner, more comfortable indoor air.
Zoned Cooling
Larger homes or houses with multiple levels sometimes benefit from zoning systems. Zoning allows different areas of the home to be cooled independently, helping improve comfort in rooms that naturally become warmer while avoiding unnecessary cooling in unused spaces.
While these upgrades increase the overall project cost, they may also improve comfort, convenience, and system flexibility over time.
Long-Term Operating Costs Matter Too
The initial installation cost is only one part of owning a central air conditioning system. Ongoing operating expenses and routine maintenance also contribute to the overall investment throughout the equipment’s life.
Choosing a properly sized system and having it installed correctly can support efficient operation for years to come. Regular maintenance, including seasonal inspections, filter changes, and system tune-ups, also helps keep equipment operating as intended and may reduce the likelihood of unexpected performance issues.
Homeowners often find it helpful to consider both the initial installation cost and the long-term cost of operating the system when comparing different equipment options.
Why an In-Home Assessment Provides the Most Accurate Estimate
Because every home is different, the most accurate installation estimate comes from an in-home evaluation rather than a general price range found online.
During an assessment, HVAC professionals typically evaluate:
- Home size and layout
- Existing heating and cooling equipment
- Ductwork condition
- Electrical capacity
- Insulation levels
- Cooling requirements
- Equipment placement
This information allows installers to recommend equipment that fits the home’s specific needs instead of relying on assumptions. It also helps identify any additional work that may affect the project before installation begins.
An in-home assessment provides homeowners with a clearer understanding of both the installation process and the factors that influence the overall cost.

Looking for Air Conditioner Installation in Seattle?
Choosing a new cooling system is an important investment, and understanding your home’s specific needs can help you make a more informed decision. A professional assessment provides valuable insight into the equipment and installation approach that best fits your home.
At Greenwood Heating & Home Services, we’ve proudly served homeowners throughout the greater Seattle area for more than 100 years with quality workmanship and dependable service. Schedule a consultation with our team today, and let us help you find a cooling solution that fits your home, comfort needs, and budget.