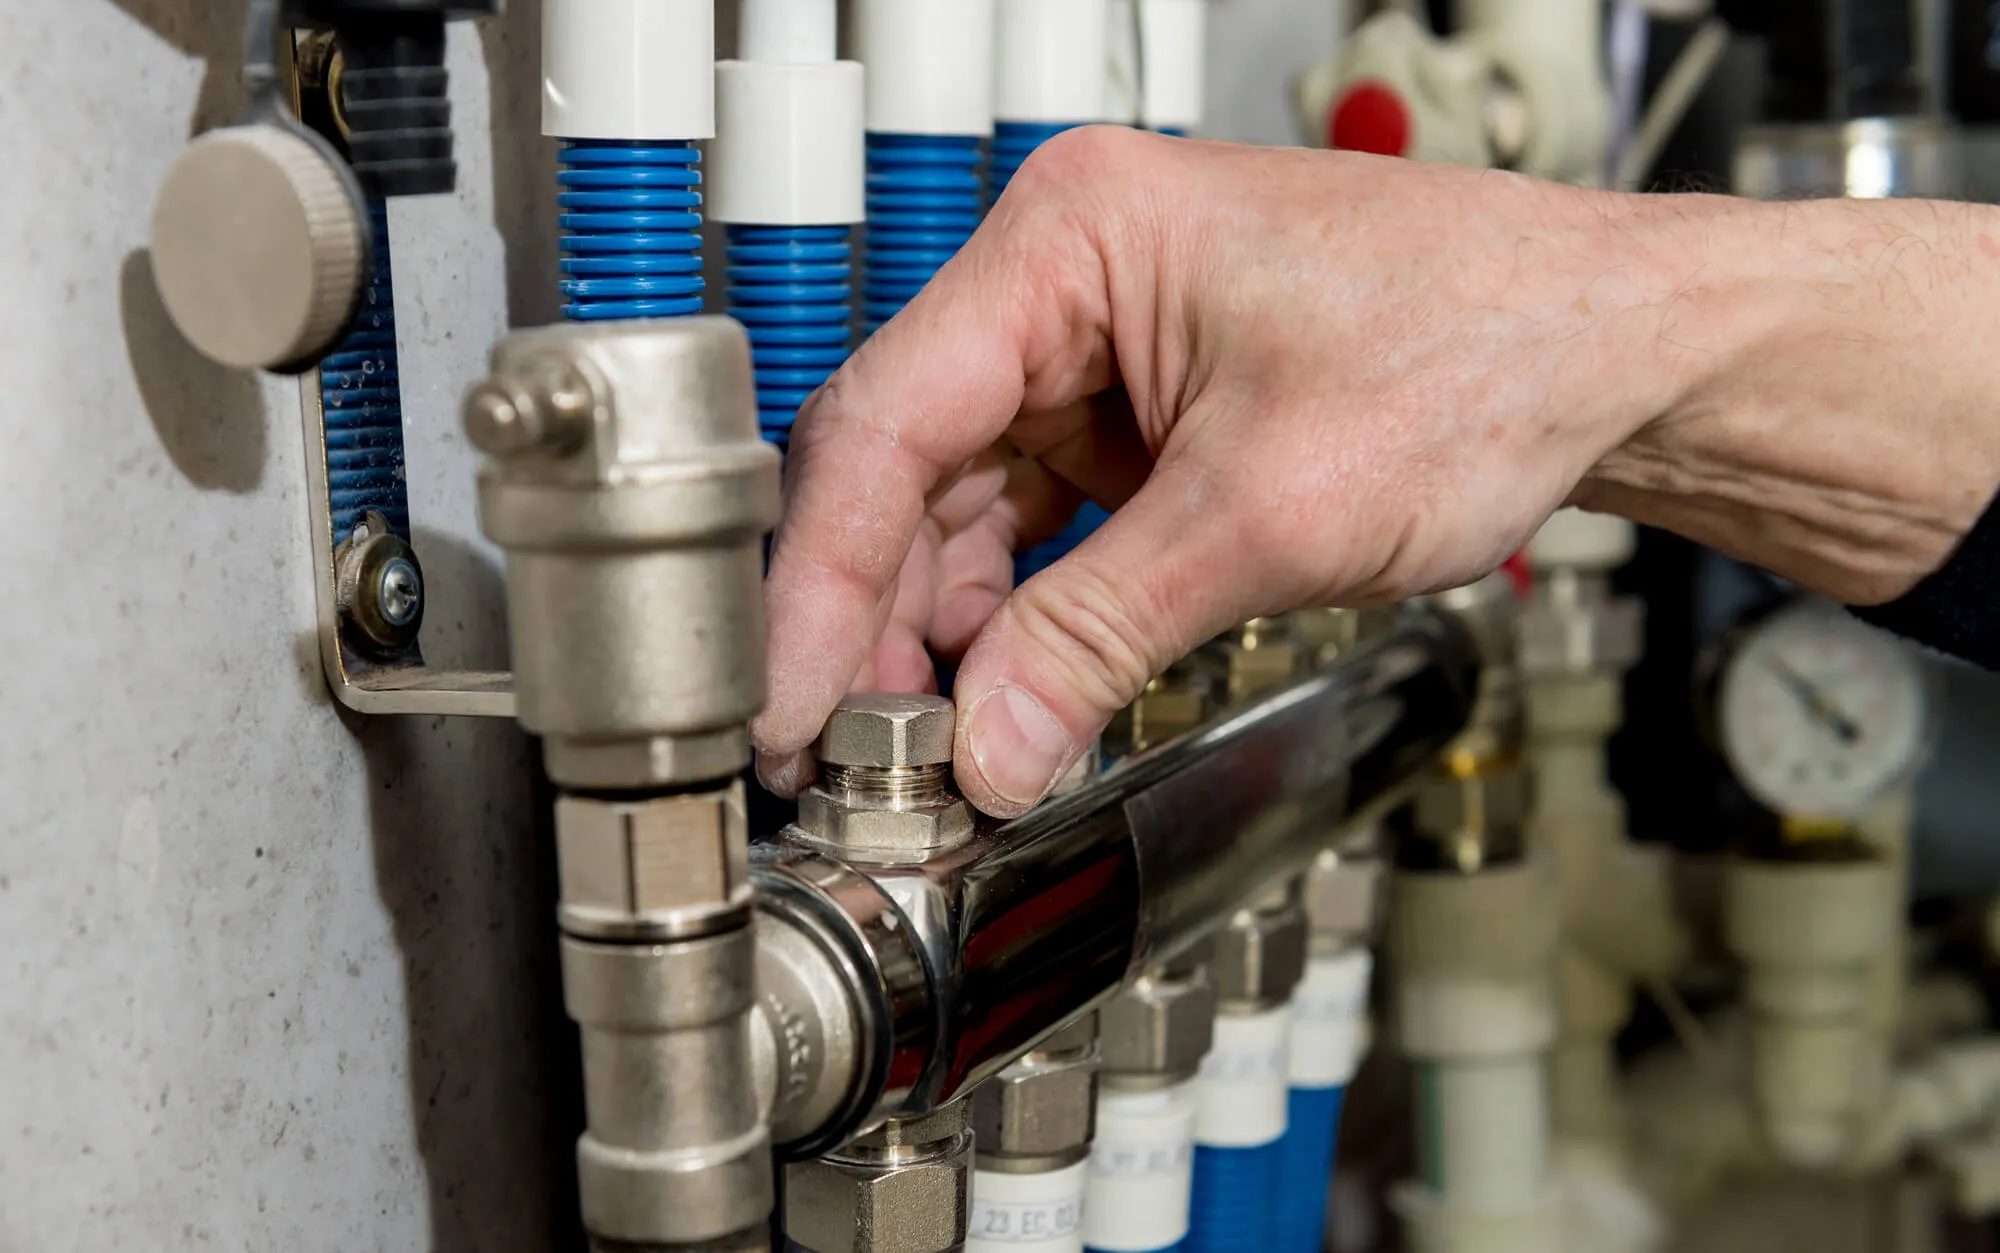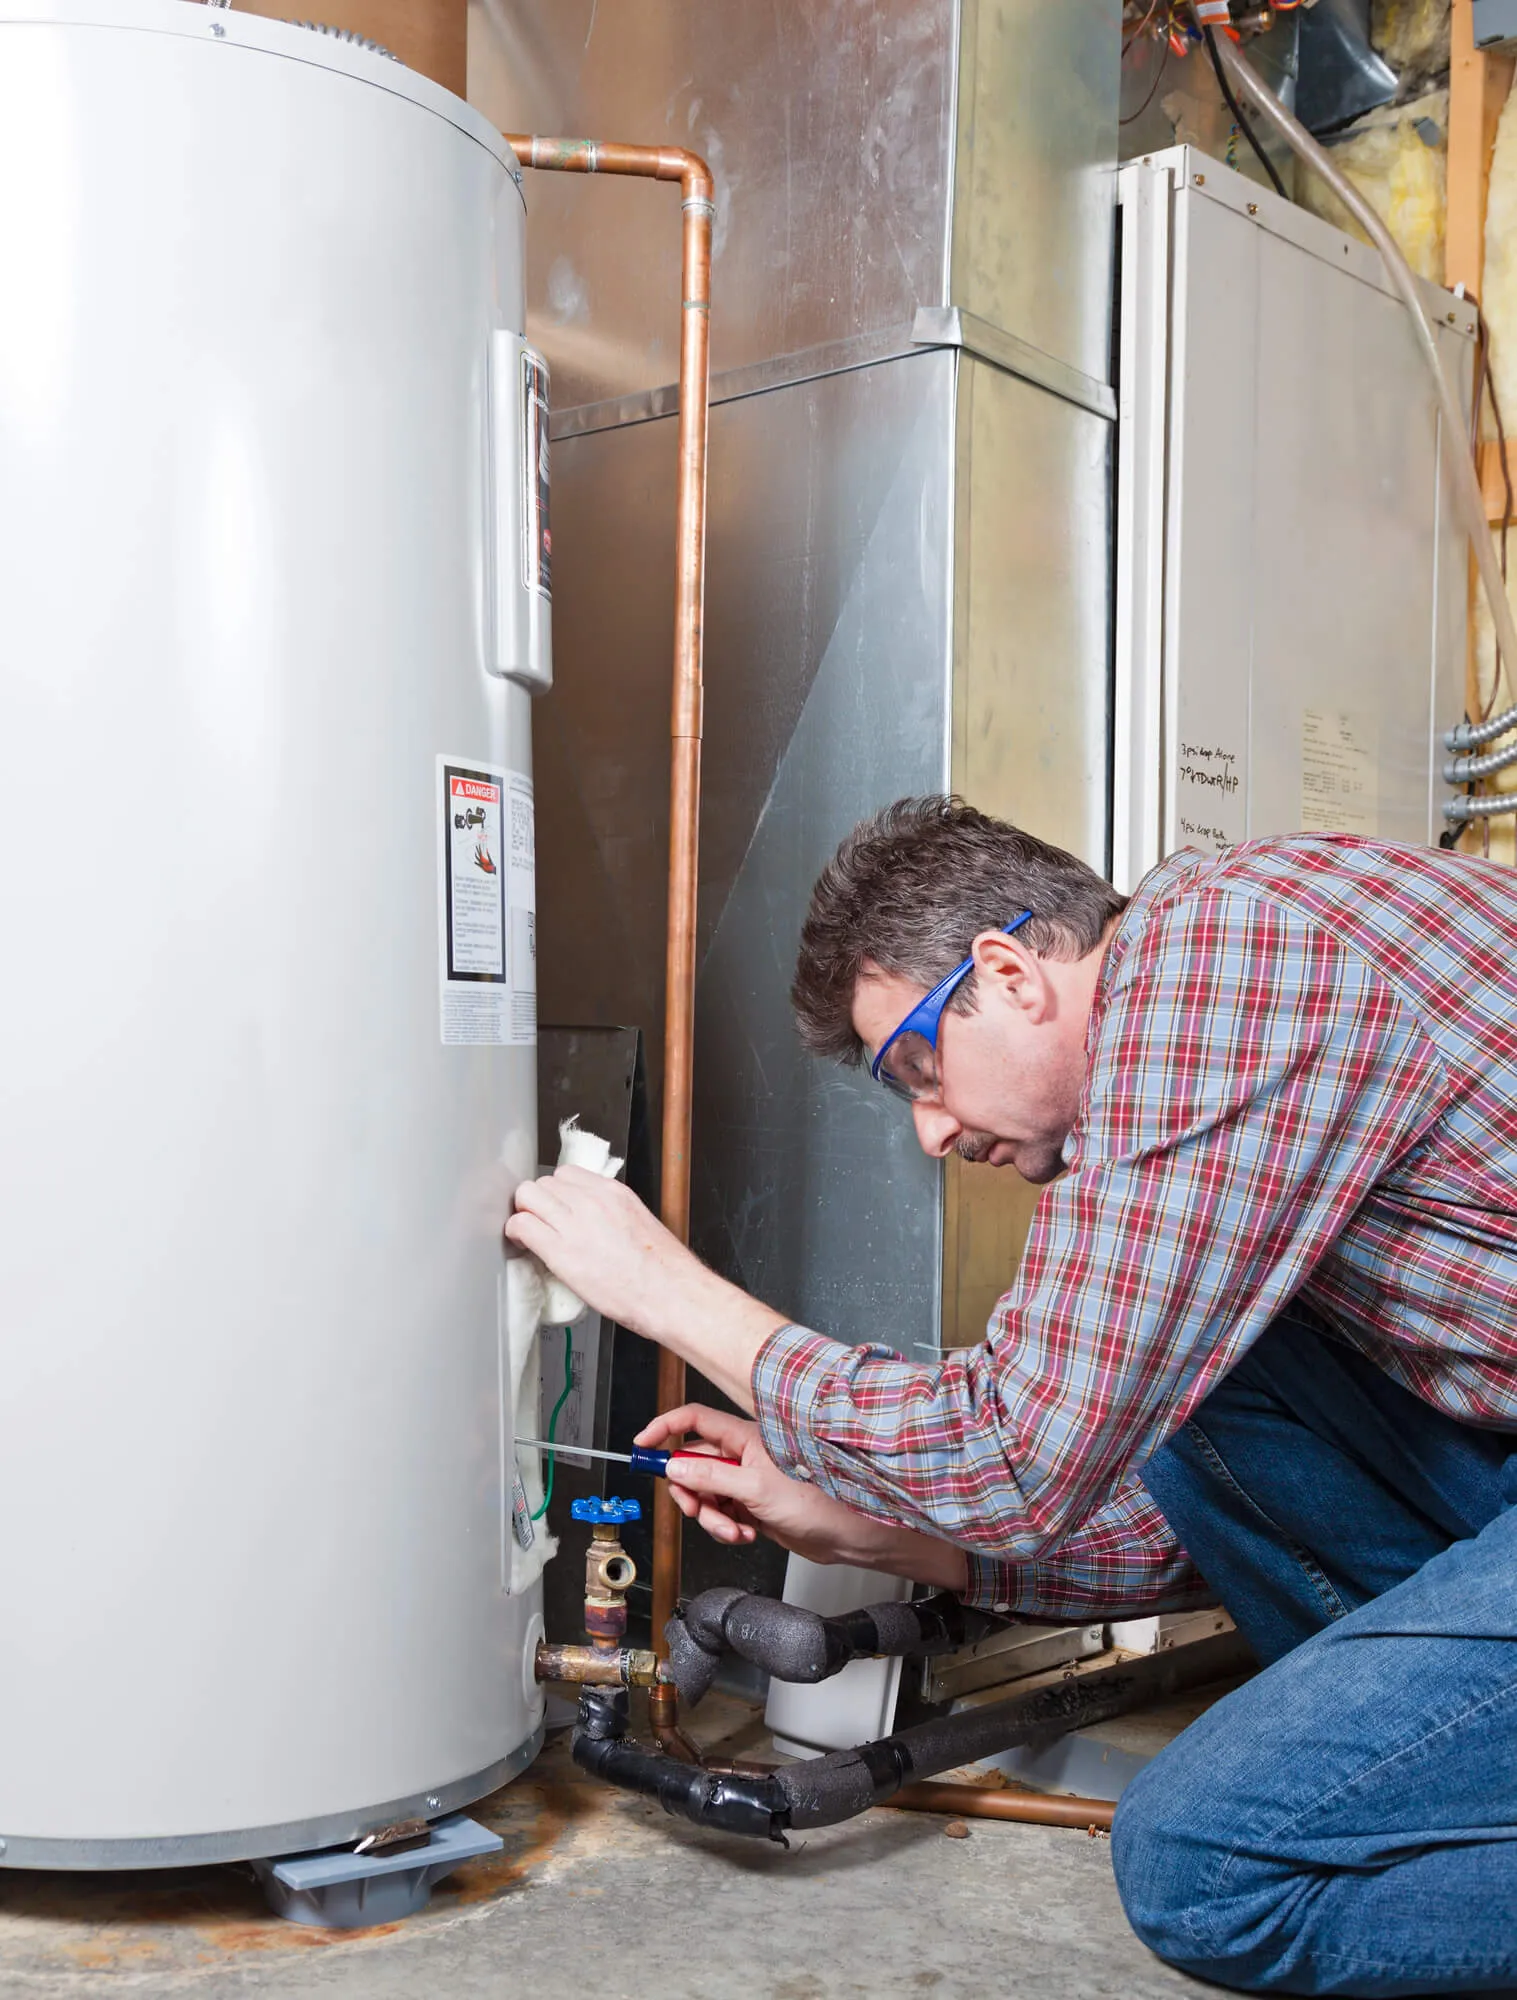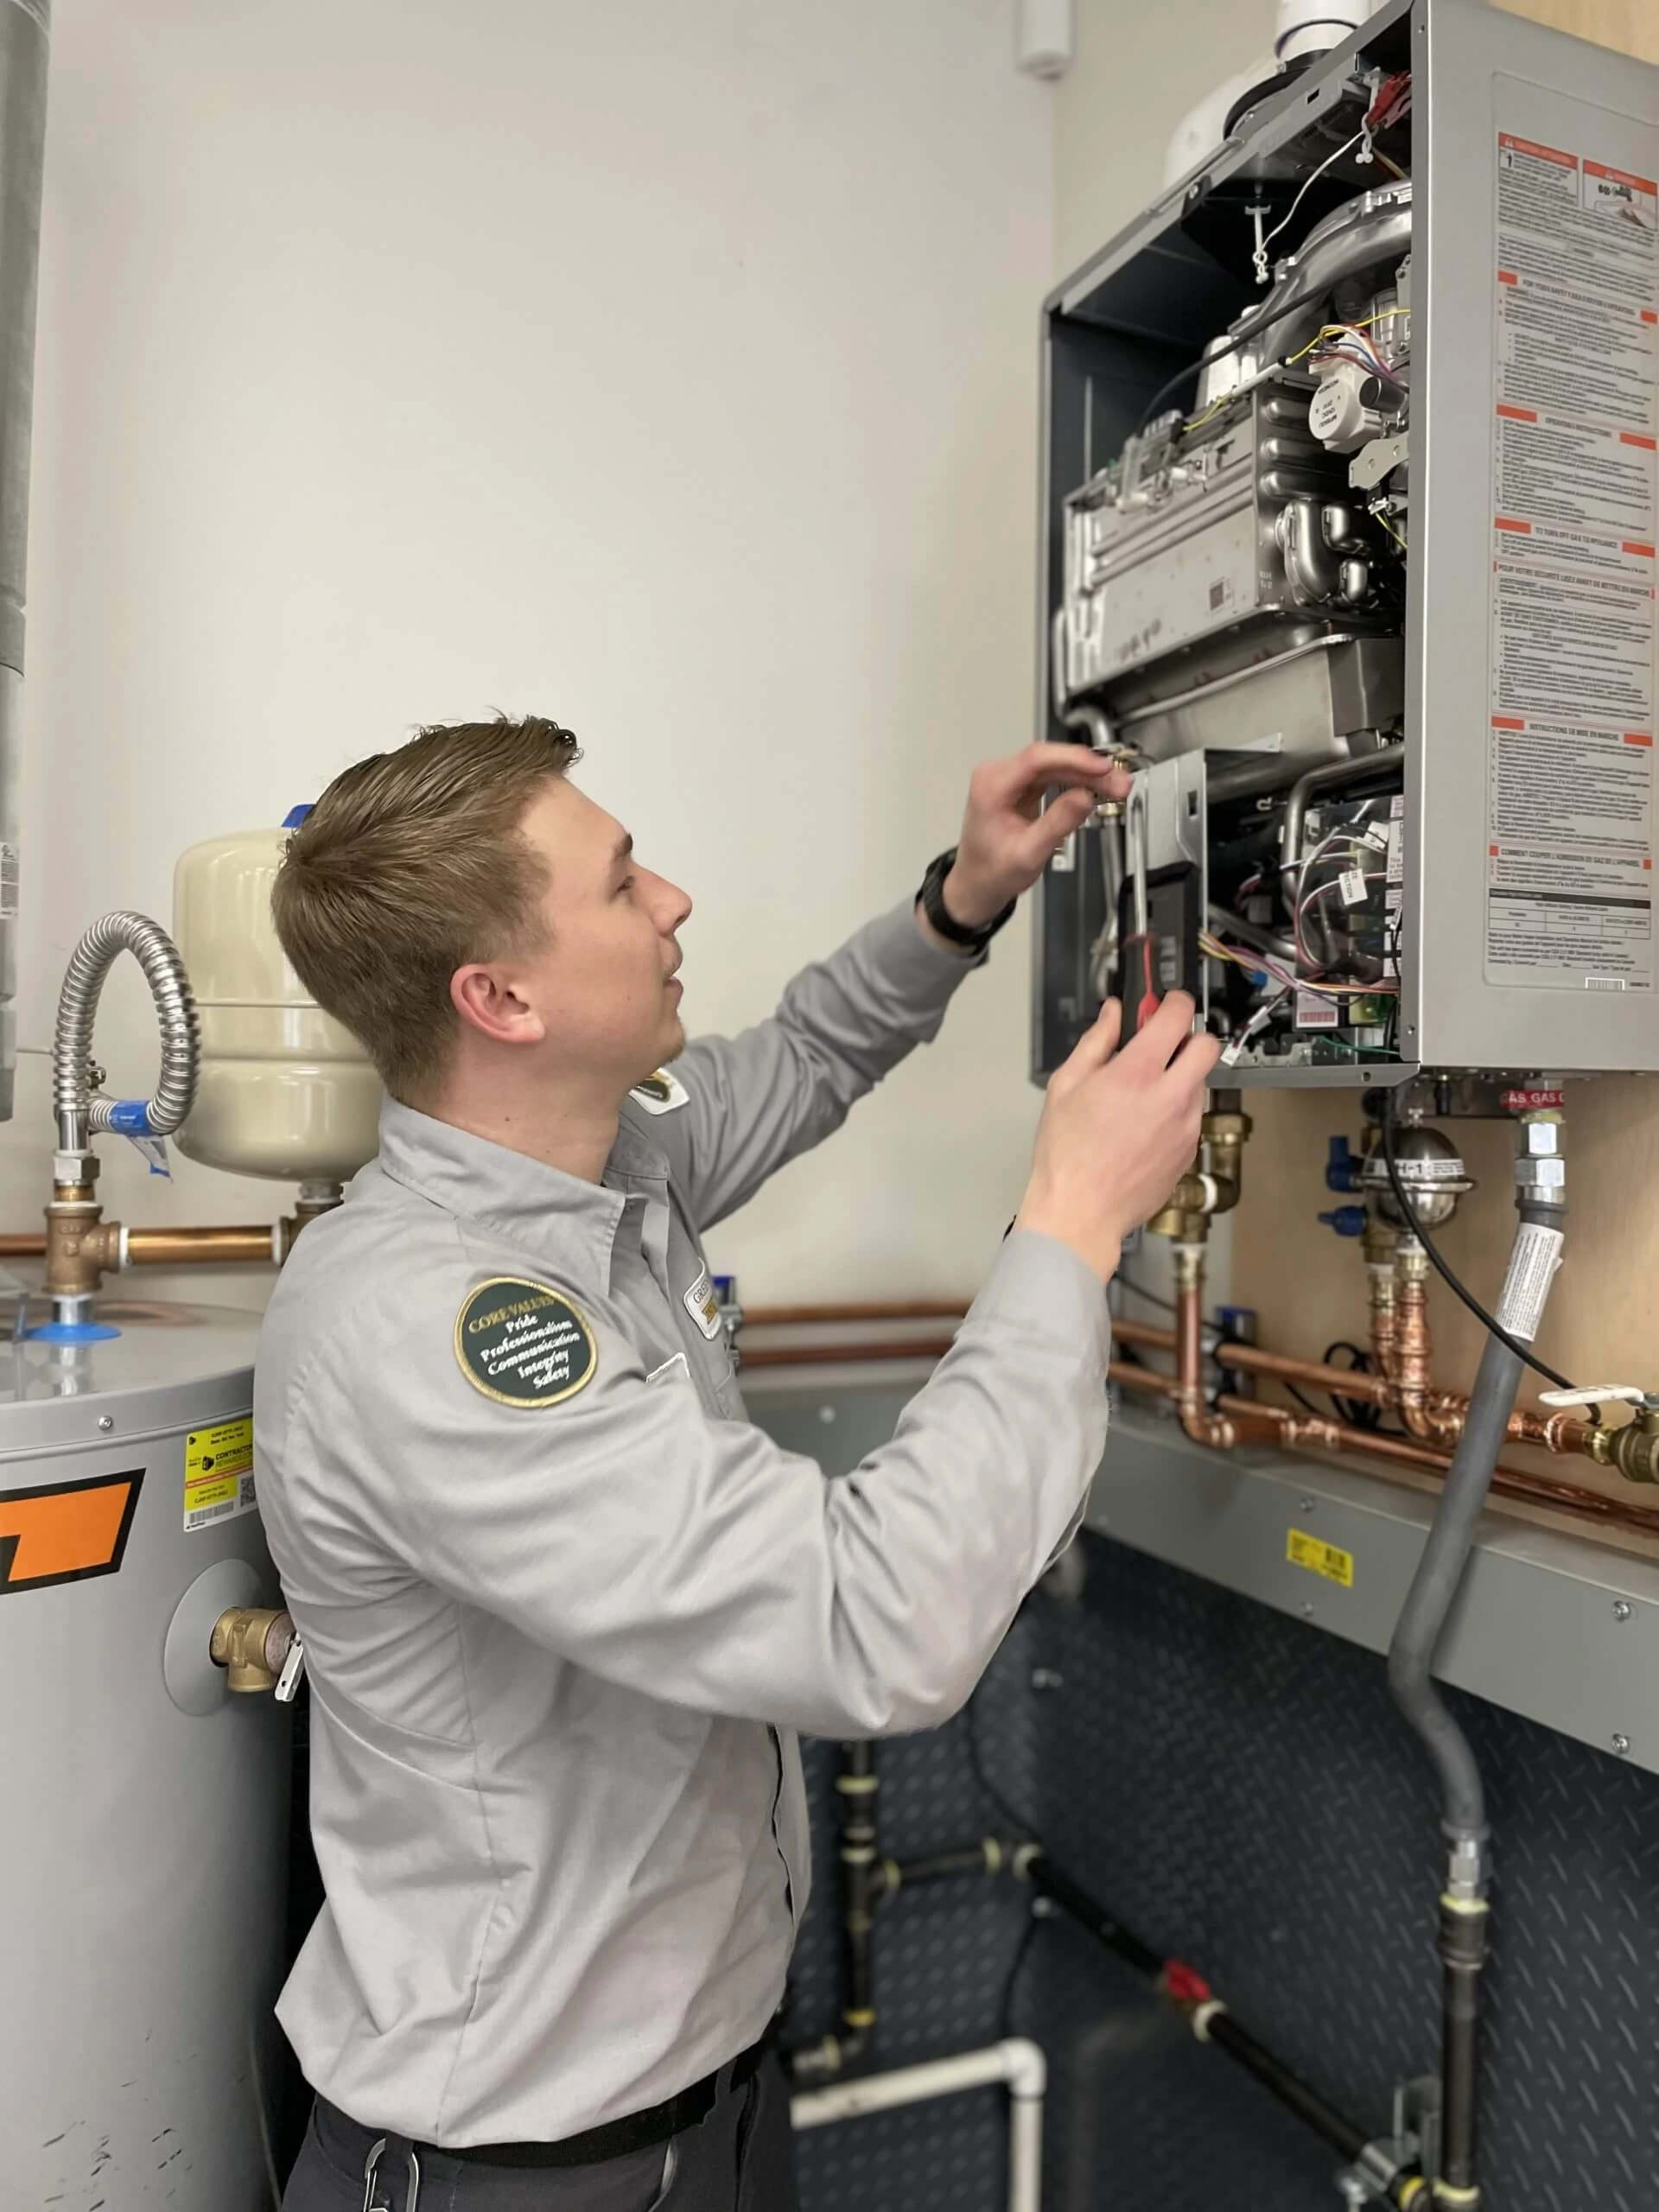


If you’ve noticed slow drains, sewer odors, or frequent backups, it may be time to call a plumber in Seattle for a closer look. Sewer lines sit underground, which means problems often develop quietly until they affect your home’s plumbing performance. A sewer scope inspection uses a small camera inserted into the sewer line to provide a clear, detailed view of the pipe’s interior, helping homeowners understand the condition of their system before minor issues grow into larger concerns.
Recognizing early warning signs can help you plan maintenance on your terms instead of dealing with unexpected plumbing disruptions.
What Is a Sewer Scope Inspection?
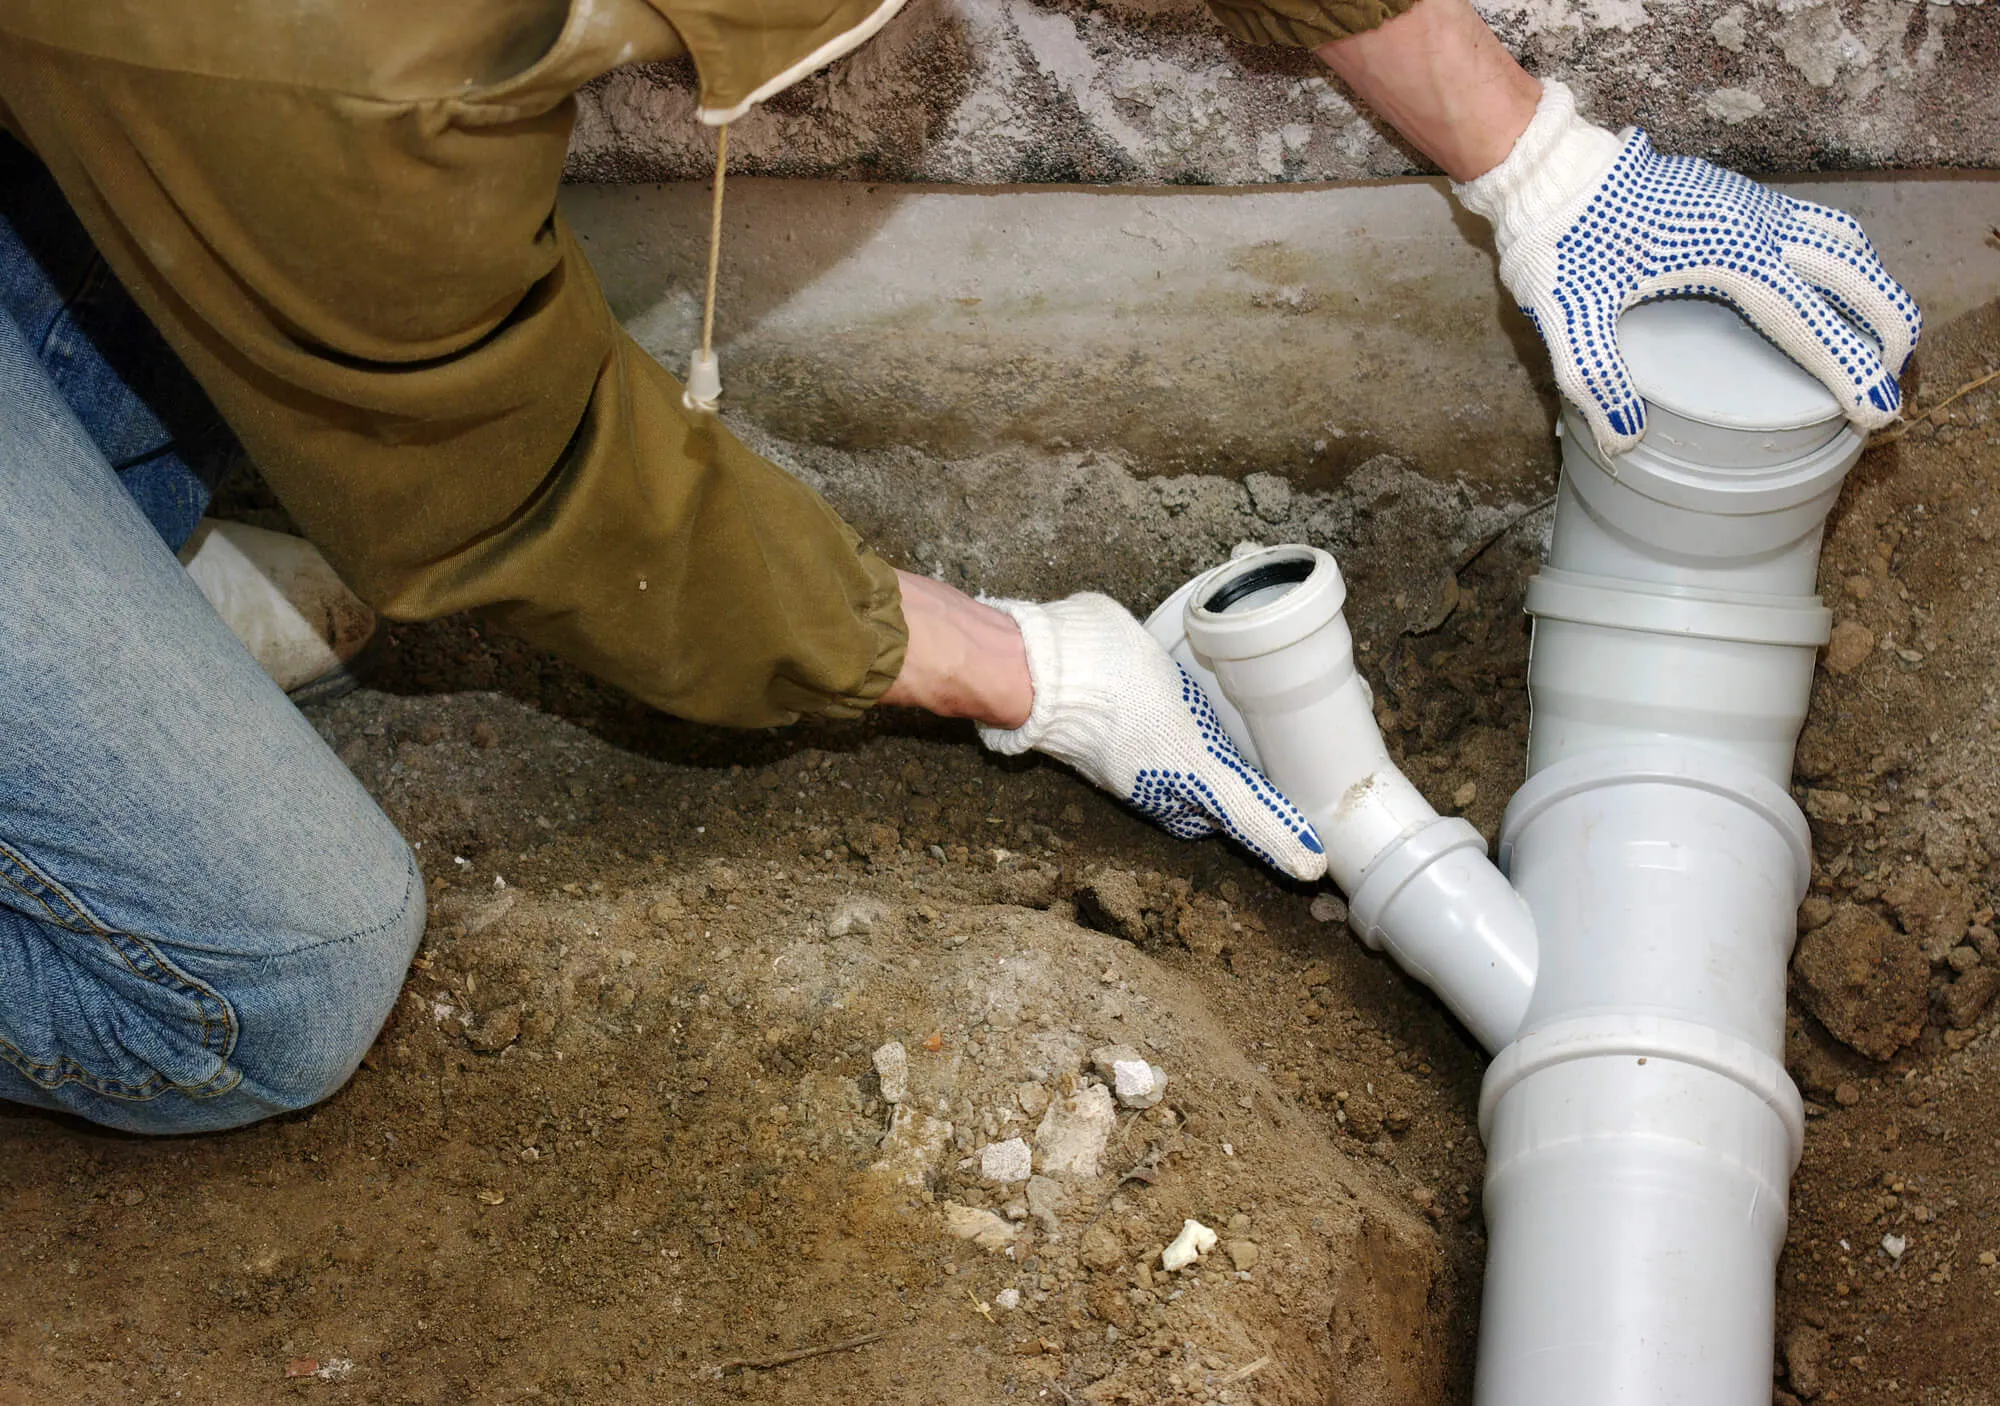
A sewer scope inspection involves using a specialized camera attached to a flexible cable to look inside your main sewer line. The camera travels through the pipe and records video footage in real time, allowing technicians to identify issues such as clogs, cracks, joint separation, pipe sagging, or root intrusion that may not be visible from inside the home.
The inspection is typically performed through an existing cleanout or access point, so it does not require digging or major disruption. Most inspections are completed within a short visit, and homeowners can review the footage to better understand the condition of their pipes.
Because sewer lines are buried underground and problems often develop slowly, inspections are one of the most reliable ways to detect concerns early. This helps homeowners plan maintenance before drainage issues affect multiple fixtures or require more extensive repairs later.
1. Multiple Slow Drains in the Home
A single slow drain may be caused by hair or debris in a local pipe. But when several drains slow down at once—such as sinks, tubs, and toilets—it can point to a blockage in the main sewer line.
A sewer scope inspection helps determine whether buildup, pipe damage, or root intrusion is restricting flow. Catching these problems early prevents backups that can affect several rooms at once.
2. Frequent Drain Backups
Occasional clogs happen in any home. However, repeated backups can signal deeper issues in the sewer line.
A camera inspection helps locate the exact source of the problem, whether it’s debris buildup, pipe misalignment, or structural damage. Early detection allows homeowners to plan maintenance before the situation escalates.
3. Sewer Odors Indoors or Outdoors
Unpleasant smells coming from drains, basements, or outdoor areas may indicate sewer line issues. Cracks or blockages can allow gases to escape, affecting indoor air quality.
Because sewer lines are buried underground, these problems are difficult to identify without specialized equipment. A sewer scope inspection helps confirm whether pipe damage or separation is present.
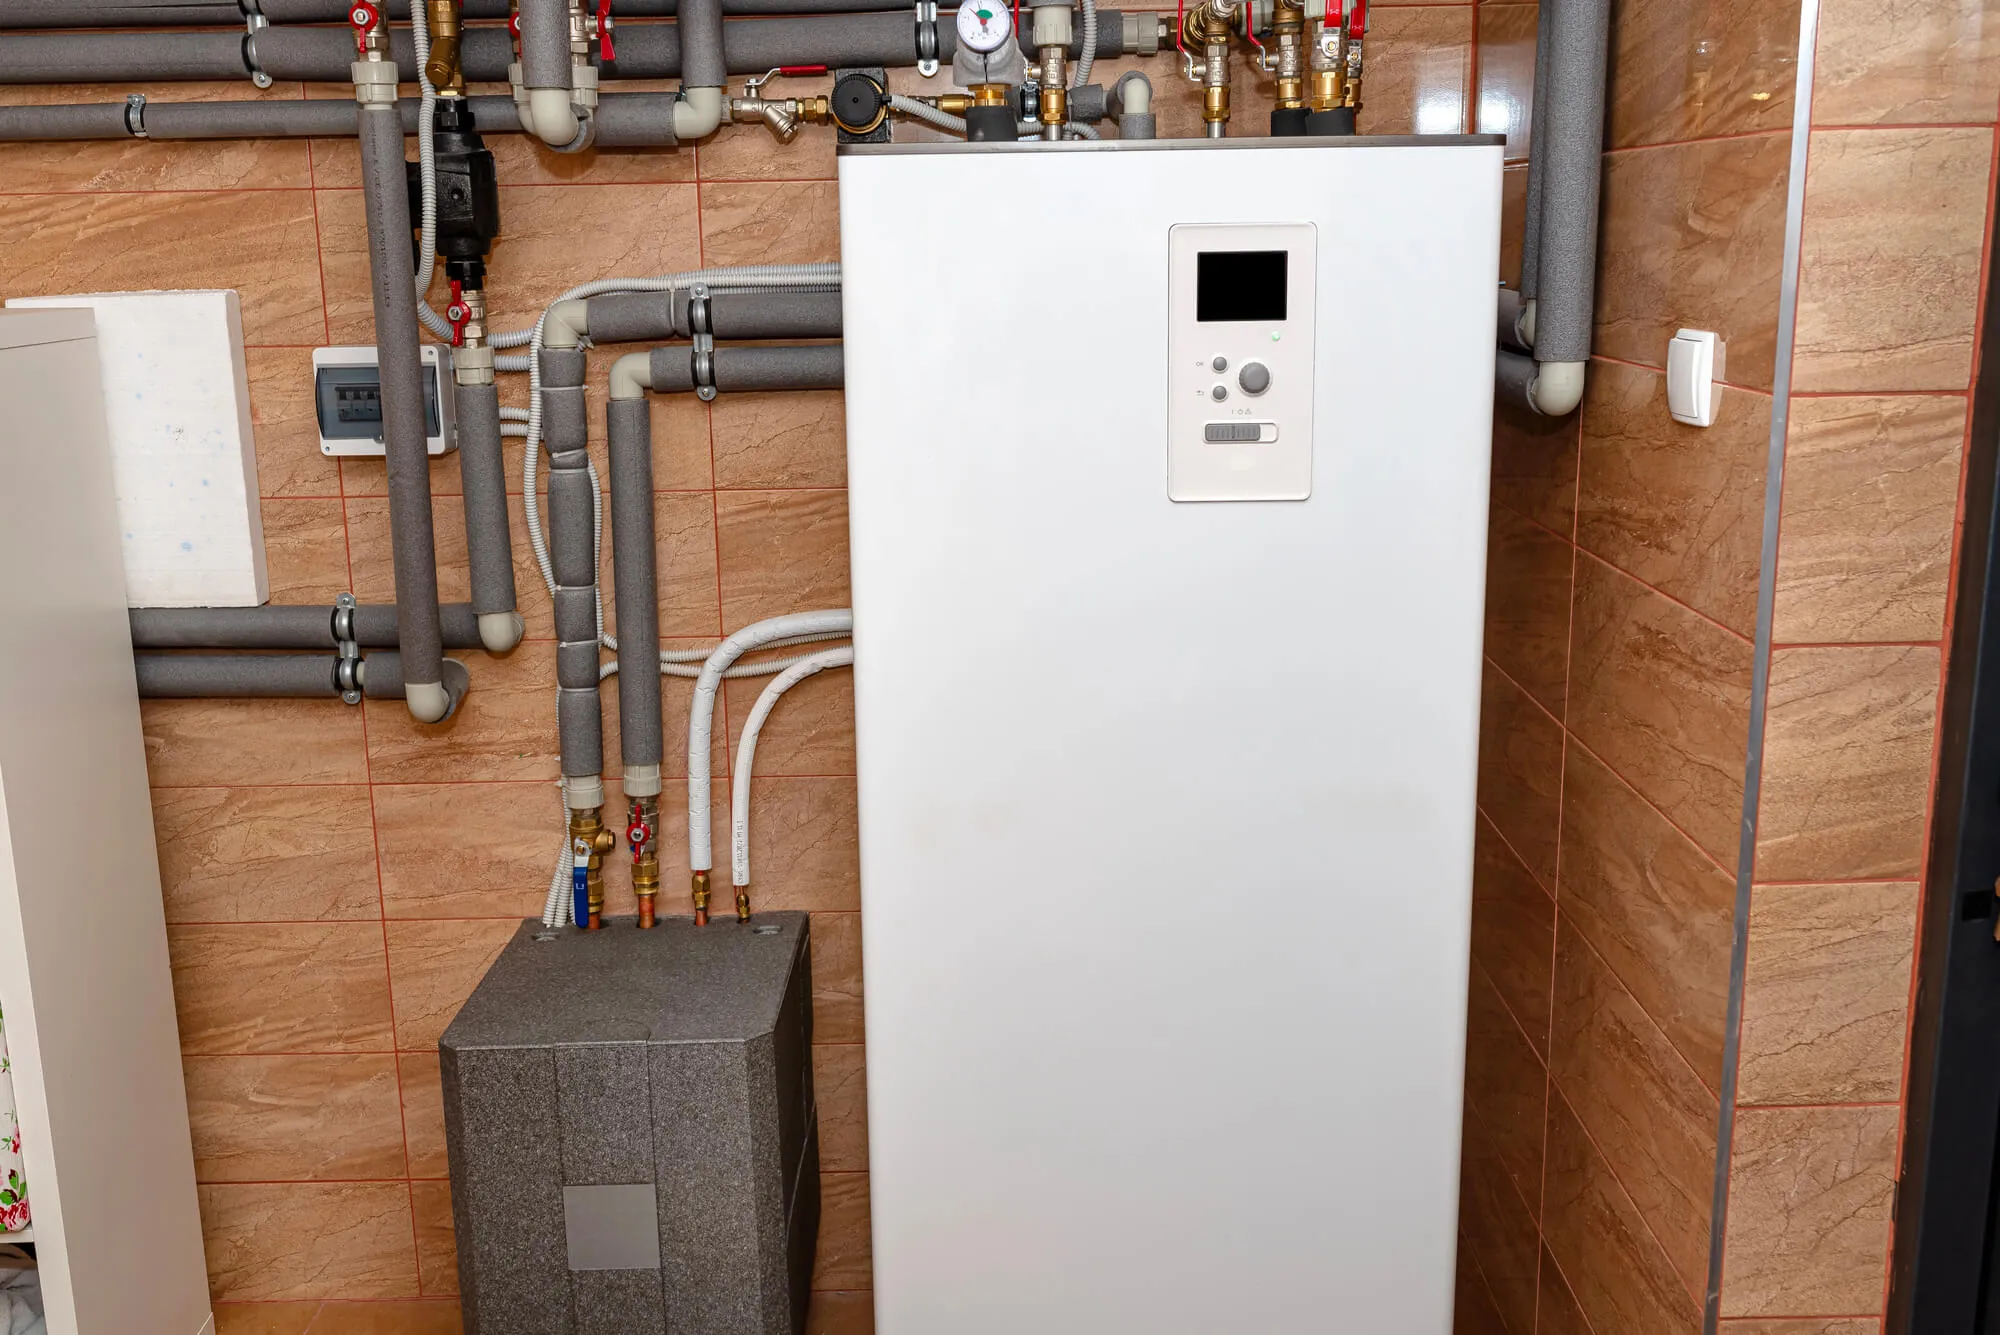
4. Older HomeswithAging Sewer Lines
Older homes may have clay, cast iron, or other pipe materials that deteriorate over time. Tree roots, soil movement, and corrosion can gradually weaken these lines.
Routine inspections are part of responsible home care, especially in older properties where unseen issues may be developing slowly beneath the surface.
Understanding the condition of older pipes helps homeowners plan future maintenance rather than reacting to sudden failures.
5. Large Trees Near Sewer Lines
Tree roots naturally seek moisture. Sewer pipes can attract roots through small cracks or joints, eventually blocking flow or damaging the line.
If your yard has mature trees, a sewer scope inspection can identify root intrusion before it causes significant drainage problems.
6. Unexplained Wet Spots in the Yard
Soft or soggy areas in the yard may indicate a leaking sewer pipe. These leaks can develop slowly and remain unnoticed until they affect landscaping or create unpleasant odors.
A camera inspection helps determine whether pipe separation or cracks are allowing wastewater to escape underground.
7. Gurgling Sounds in Pipes
Gurgling noises in drains or toilets may signal airflow issues caused by partial blockages in the sewer line.
These sounds often appear before more serious problems, such as backups or slow drainage. A sewer scope inspection helps identify what is affecting airflow inside the pipe.
8. Buying or Selling a Home
Sewer scope inspections are commonly recommended during real estate transactions. Many home inspections do not include a sewer line evaluation, yet sewer repairs can be costly.
A sewer scope provides clear information about pipe condition so buyers and sellers can make informed decisions before closing.
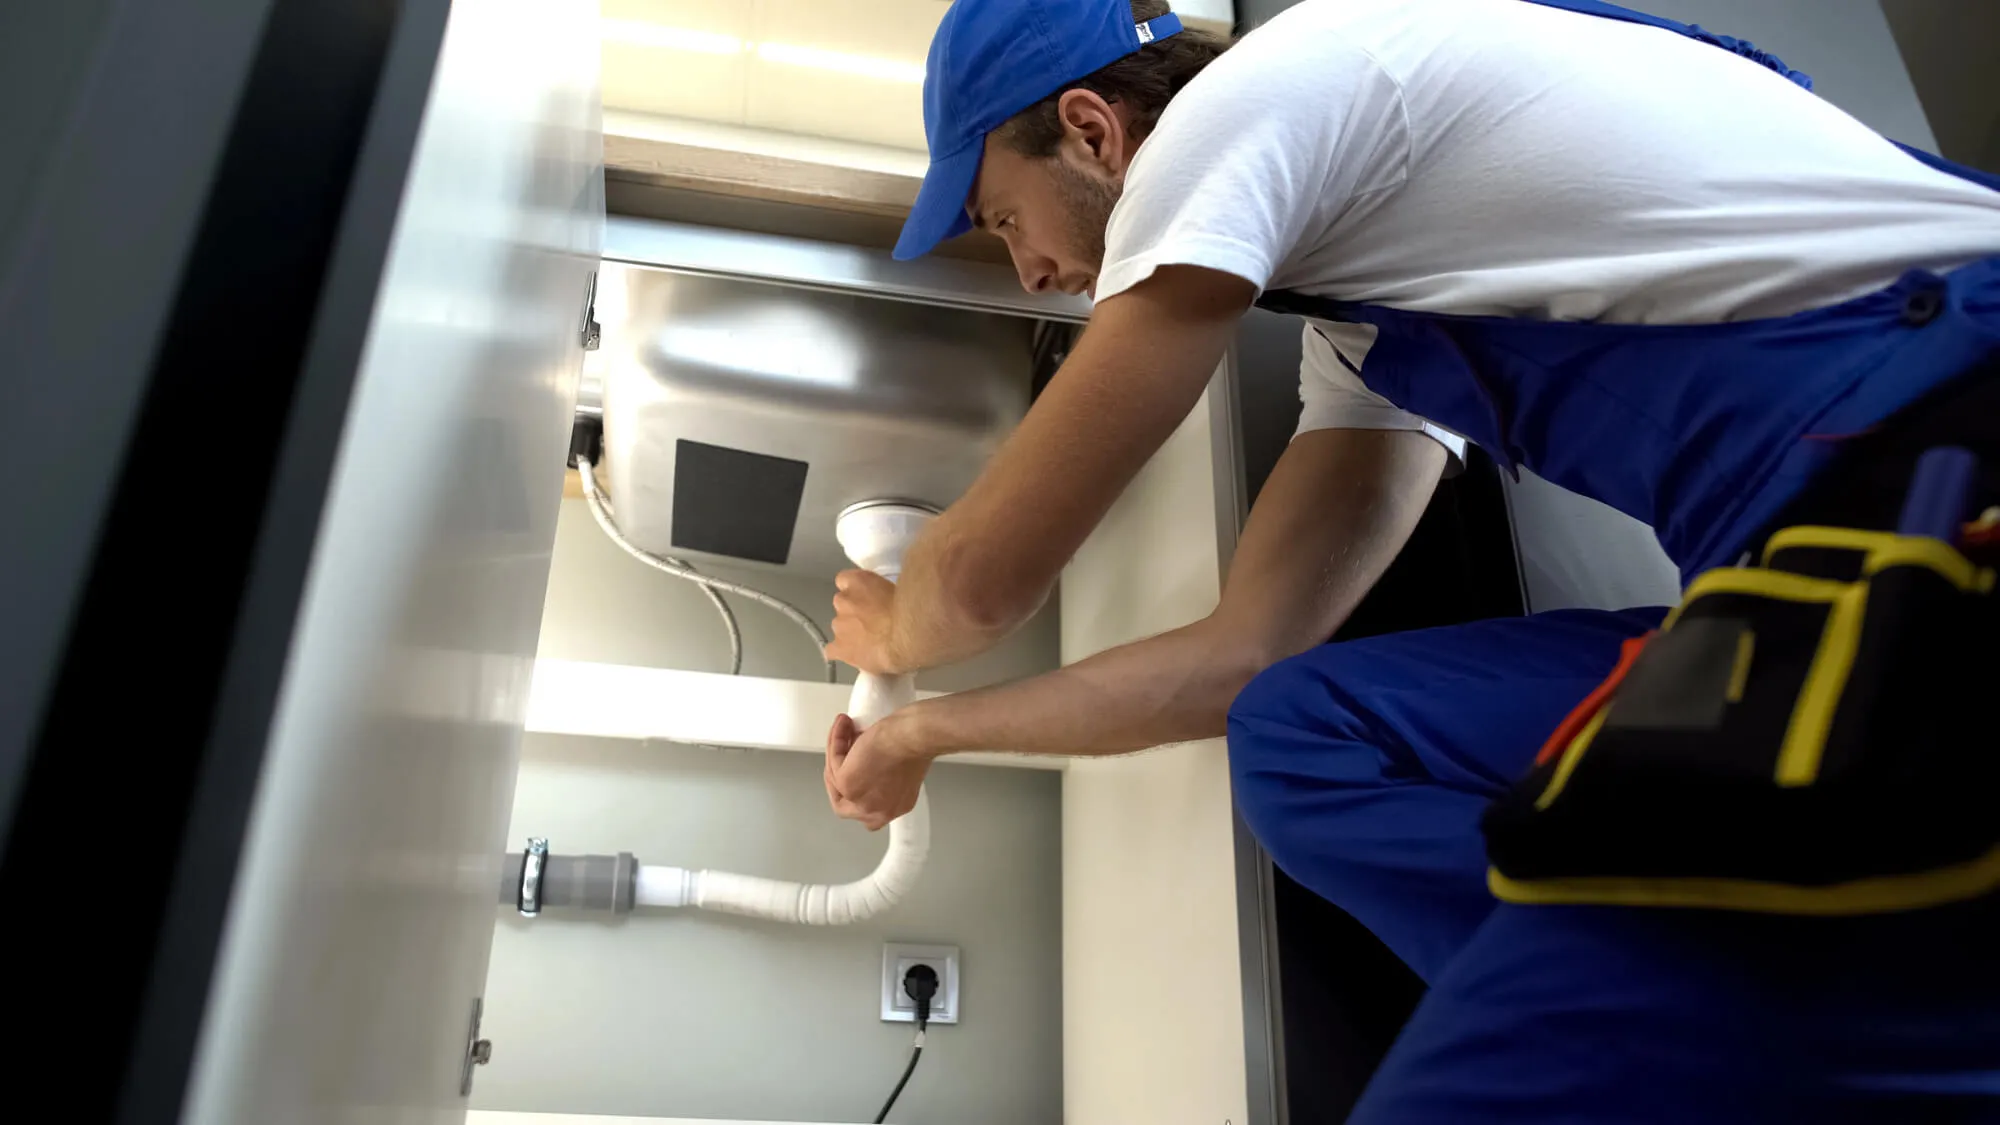
9. Recurring Plumbing Repairs
If plumbing problems keep returning, the issue may be deeper in the sewer line rather than inside the home’s visible pipes.
A camera inspection helps confirm whether underlying sewer issues are contributing to repeated drain problems.
10. Planning Preventative Maintenance
Even if everything seems to work normally, unseen issues can develop slowly over time. Routine sewer inspections are a practical way to care for your home and plan maintenance before emergencies occur.
Preventative care supports long-term plumbing reliability.
Why Sewer Scope Inspections Matter
Sewer problems often develop quietly beneath the surface. Because pipes are buried underground, warning signs may stay hidden until a major backup, slow drainage across several fixtures, or unpleasant odors appear inside the home. By that stage, repairs can take more time and planning.
Camera inspections help detect problems like clogs, root intrusion, cracks, or pipe misalignment early, giving homeowners a clearer understanding of what is happening inside the line. This information allows maintenance to be scheduled before issues affect daily routines or cause damage to flooring, landscaping, or foundations.
Early detection supports steady plumbing performance, helps homeowners budget for future repairs, and protects overall property value over time.
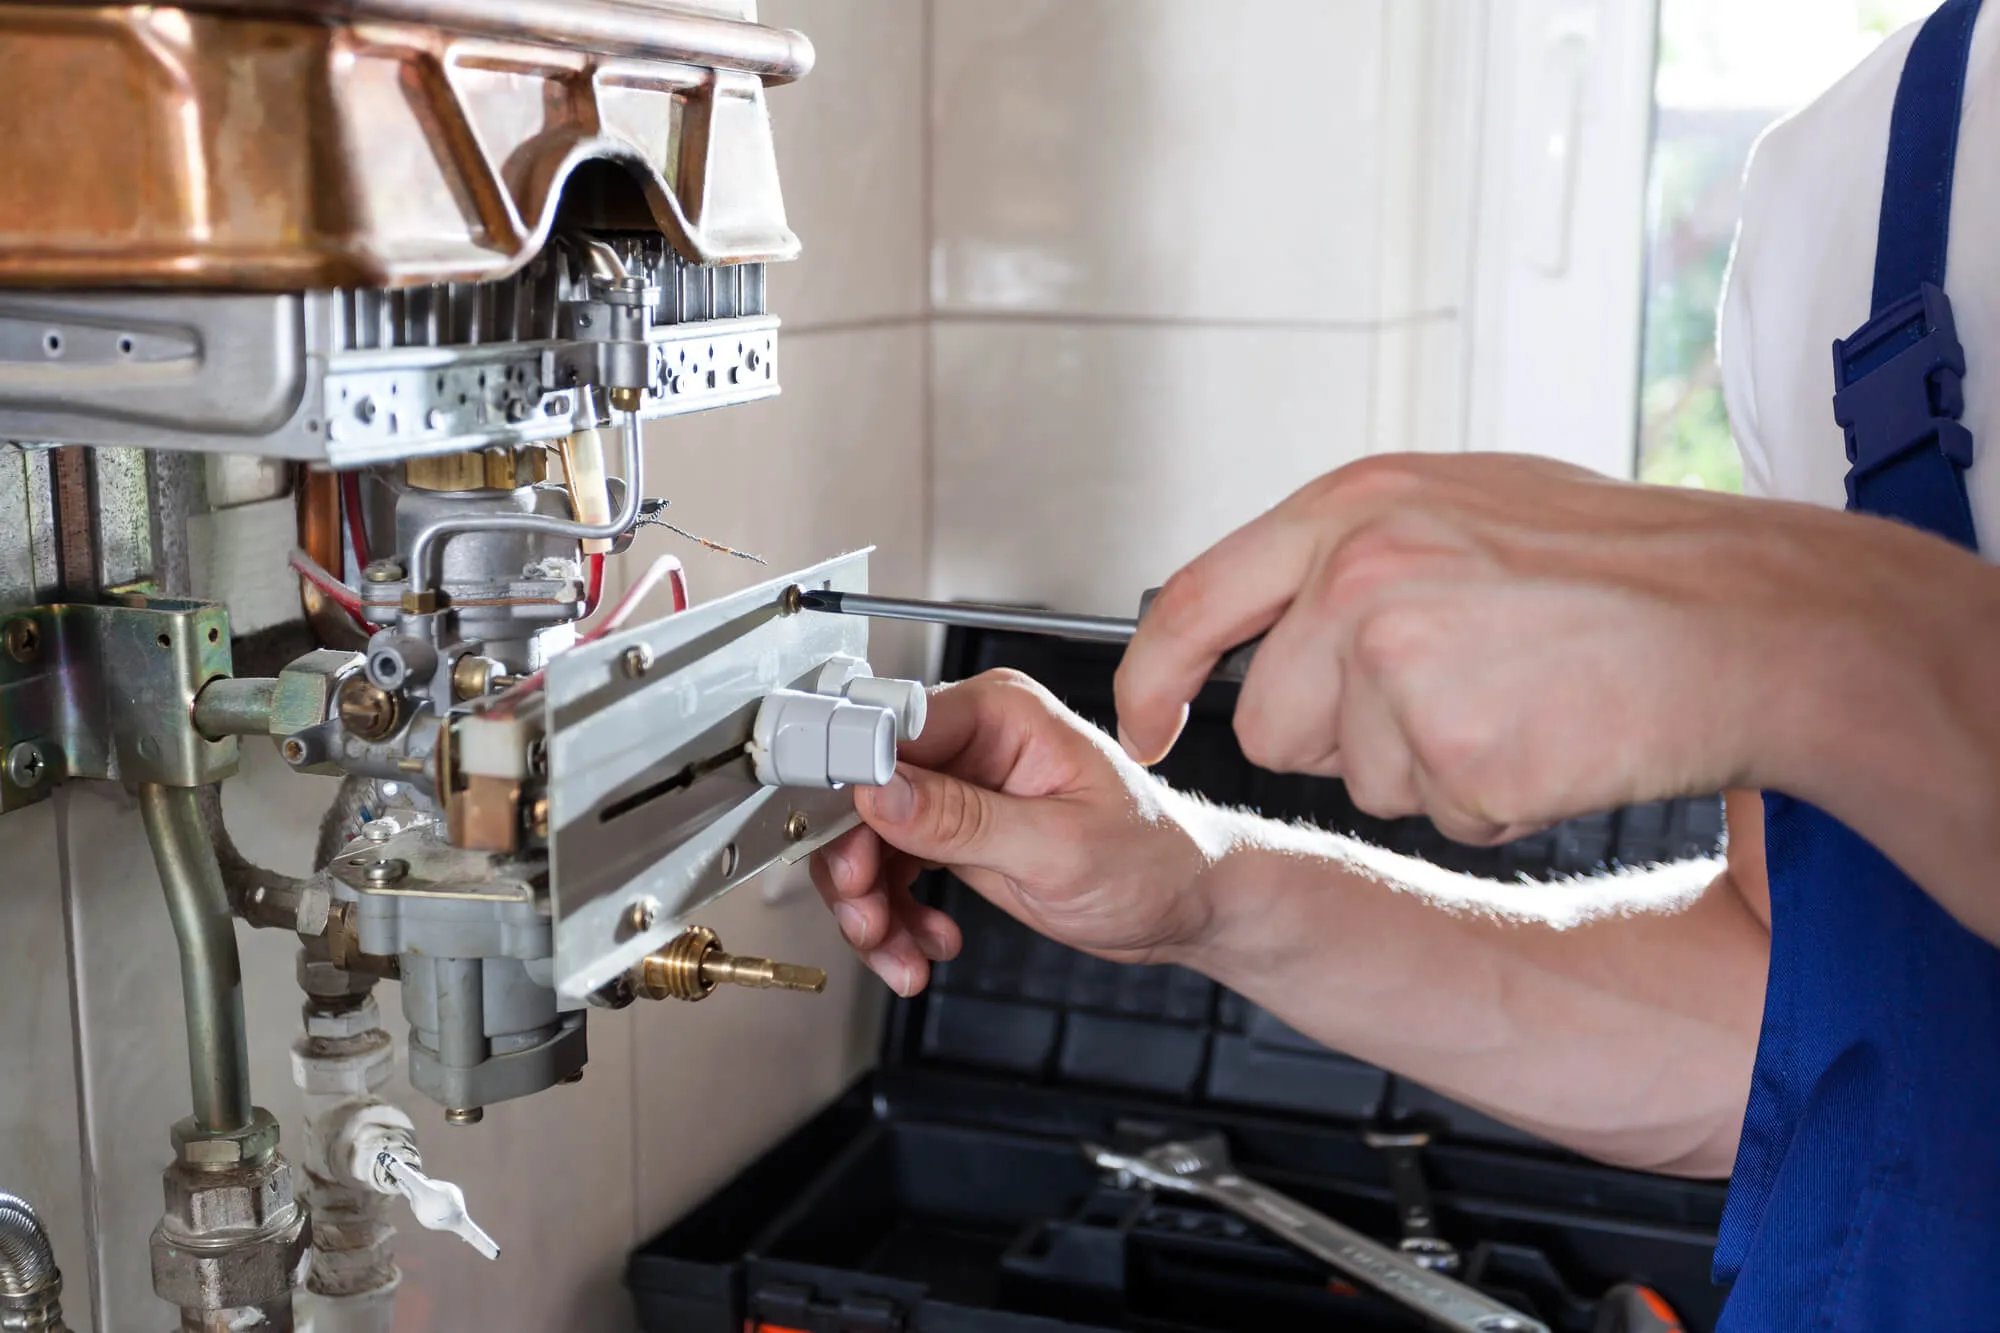
What Happens During an Inspection
Most inspections are straightforward:
- Access is made through a cleanout or pipe opening
- A camera is inserted into the sewer line
- The technician reviews live footage
- A recording and summary are provided
Because no digging is required, inspections are quick and minimally disruptive.
How Often Should Sewer Lines Be Inspected?
For most homes, a sewer scope inspection every 3 to 5 years is a practical guideline, especially if the plumbing system is working normally. Homes built more than 30 years ago, properties with large trees near sewer lines, or houses with clay or cast-iron pipes may benefit from inspections every 1 to 2 years because these materials are more prone to root intrusion and wear.
You should also schedule an inspection when buying or selling a home, after major plumbing backups, or if you notice repeated slow drains. These timelines help homeowners monitor pipe condition regularly and plan maintenance before problems affect multiple fixtures or lead to unexpected disruptions.
When Small Problems Become Larger Repairs
A small crack or blockage can grow over time. Roots expand inside tiny openings; debris accumulates along rough pipe edges, and pipes shift gradually as soil settles or changes with moisture. These slow changes often go unnoticed until drainage becomes unreliable, or backups begin affecting sinks, tubs, or toilets. By that stage, repairs may require more time and planning.
Routine sewer scope inspections provide a clear look inside the line, helping identify early warning signs while they are still manageable. Addressing concerns early supports steady plumbing performance, helps homeowners plan maintenance on their schedule, and reduces the likelihood of unexpected disruptions during periods of heavy household use.

When to Call a Plumber in Seattle for Sewer Scope Inspections
If you notice repeated slow drains, sewer odors, or yard drainage problems, it may be time to contact a plumber in Seattle for a sewer scope inspection. This simple, non-invasive process gives you a clearer understanding of your sewer line’s condition and helps you plan maintenance before larger plumbing issues develop.
If you’ve noticed warning signs or want peace of mind about your sewer line, scheduling a sewer scope inspection can help you plan ahead with confidence. Our team at Greenwood Heating & Home Services uses modern camera equipment to provide clear information about your plumbing system, helping homeowners understand what’s happening underground before issues escalate.
Reach out today to schedule your sewer scope inspection and protect your home’s plumbing system for the future.