

Homeowners often shrug off small heating problems. A furnace that rattles occasionally, a heater that takes longer to warm up, or a thermostat that seems slightly off doesn’t always feel urgent. Yet, these minor inconveniences can snowball into costly system failures in Seattle’s damp and chilly winters. Heating repair in Seattle isn’t just about restoring comfort; it’s about protecting your home from unnecessary expenses and safety risks. Understanding how little issues escalate can help you avoid a major breakdown at the worst possible time.
Why Small Heating Problems Matter
Heating systems are designed to work in harmony. When one part falters, the stress on other components increases, creating a chain reaction. If ignored, what starts as a faint sound, a small leak, or a short cycle can end in a major repair or full replacement. Below are some common problems that may initially look small but turn expensive over time.
Uneven Heating Across Rooms
Many homeowners notice one room that feels colder than the rest. This uneven heating often points to restricted airflow, duct leaks, or a struggling blower motor. At first, it may be an inconvenience you can live with. Over time, however, the system works harder to balance temperatures. That extra strain shortens equipment life and inflates energy bills. Professional service early on usually requires minor adjustments, while waiting too long can mean replacing costly parts.
Strange Noises from the Furnace
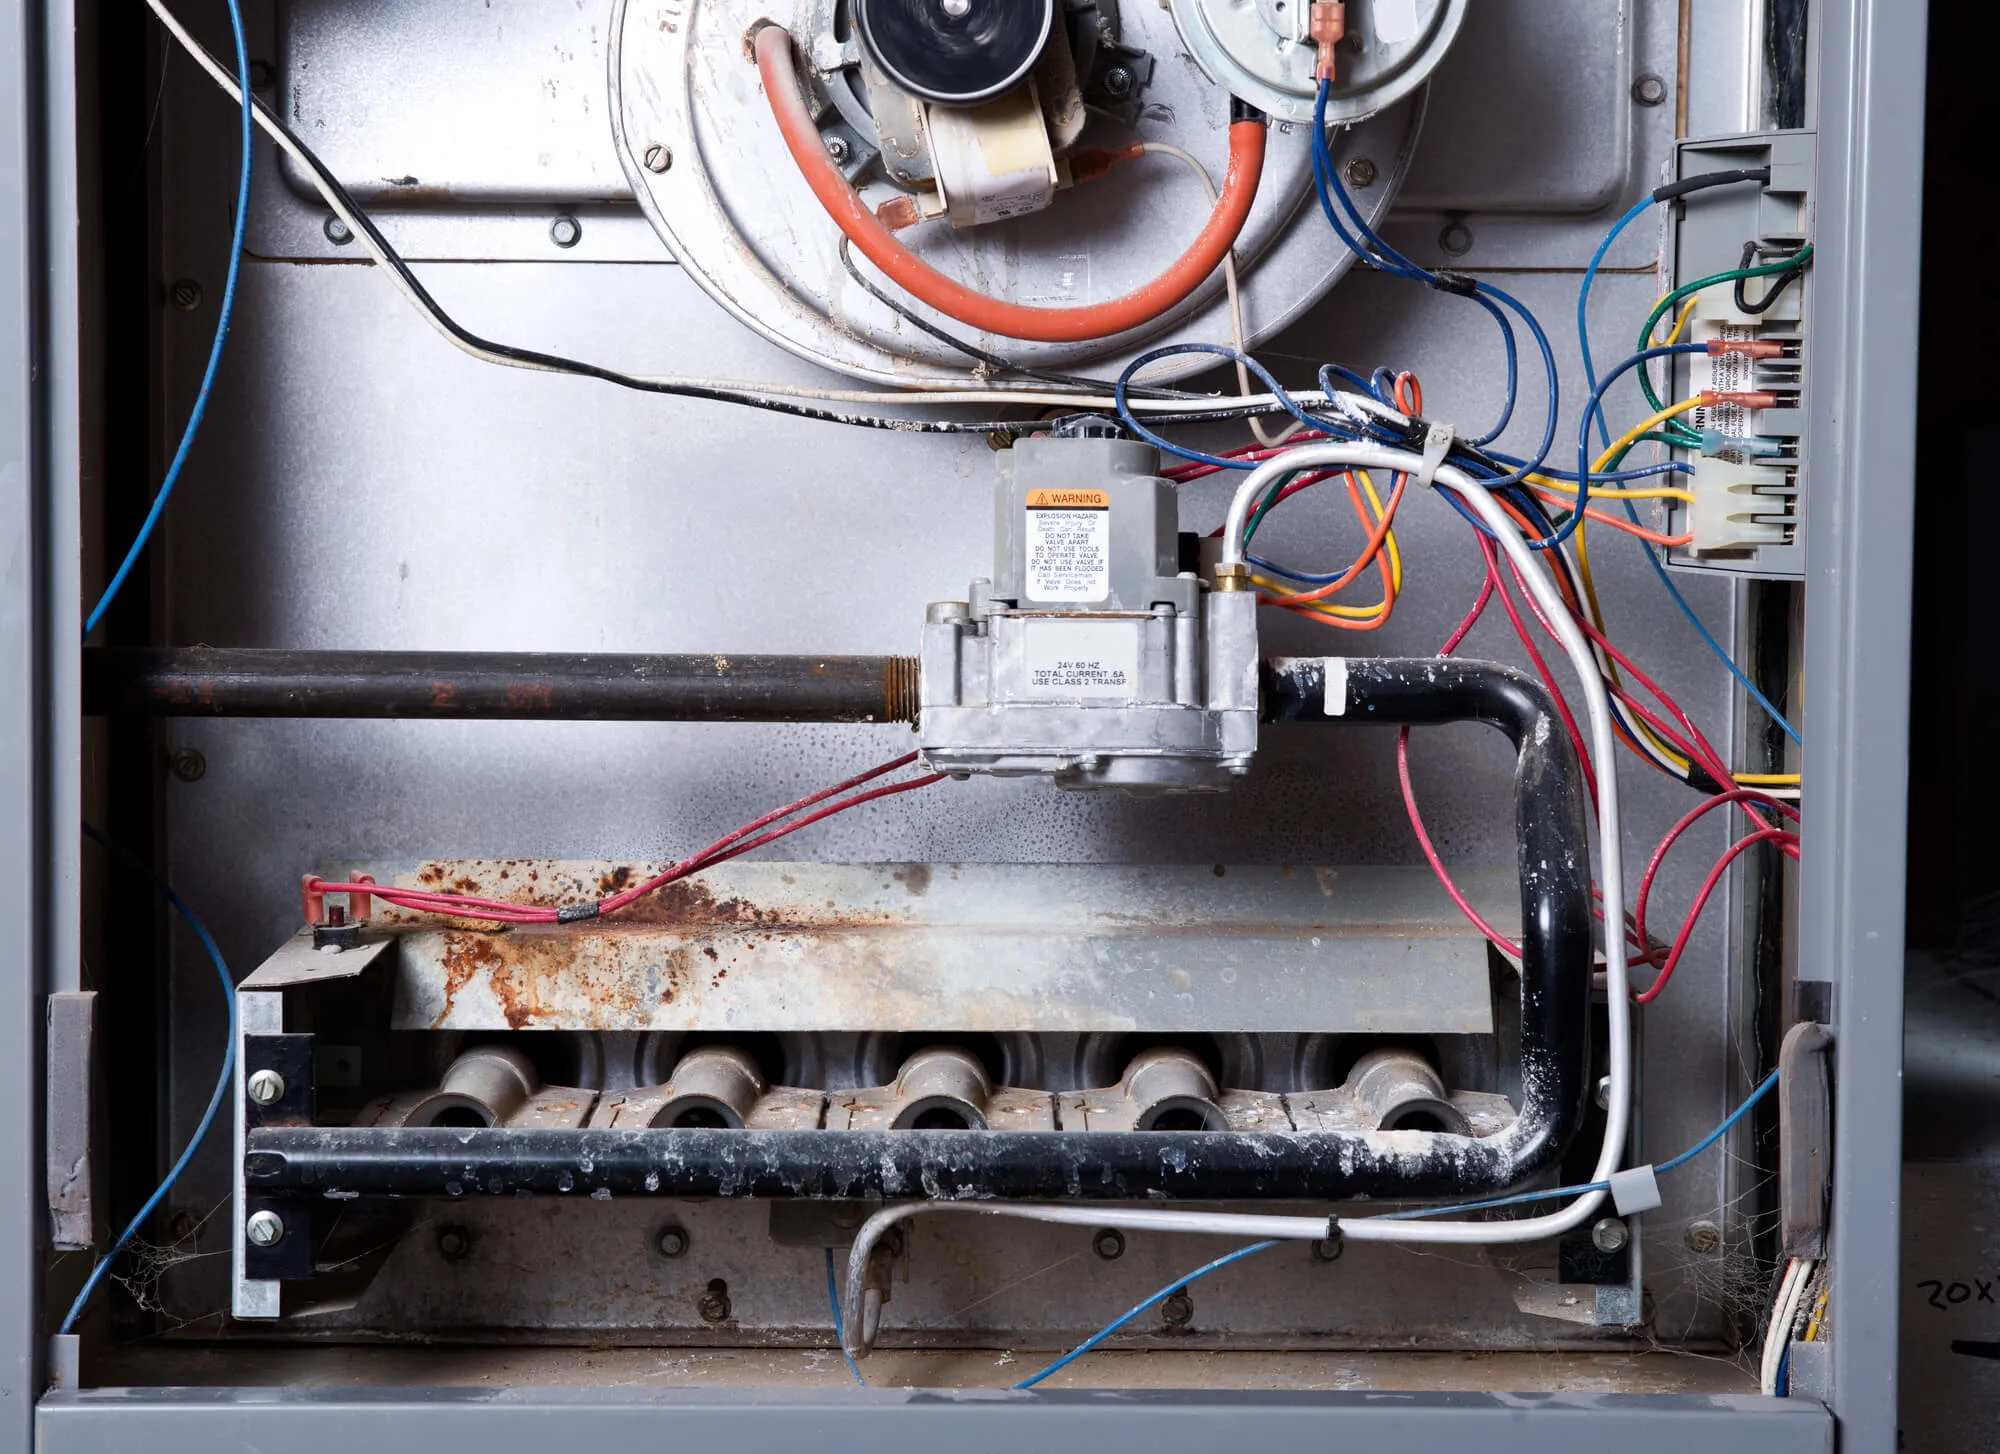
Rattling, banging, or squealing noises are early warning signs. Loose components, worn belts, or debris in the system are often the cause. At first, the sound may come and go, but ignoring it risks a sudden breakdown. In some cases, a small part failure can damage the heat exchanger or blower assembly, repairs that run far higher than a quick inspection would have cost.
Rising Energy Bills
A gradual increase in heating bills often slips under the radar. Many homeowners assume rising costs are due to seasonal changes or utility rates. A poorly tuned system, clogged filters, or a faulty thermostat can waste large amounts of energy. Left unresolved, the system runs longer hours and wears out faster, leading to expensive replacements. Addressing efficiency issues promptly keeps monthly expenses stable and prevents strain on the system.
Frequent Cycling On and Off
If your furnace turns on and off more often than usual, it may be short-cycling. This is usually caused by dirty filters, a malfunctioning thermostat, or restricted airflow. While the symptom itself doesn’t stop the heat, the frequent cycling consumes energy and accelerates wear on internal parts. What starts as a low-cost cleaning or calibration can eventually lead to blower motor or heat exchanger damage, which is far more expensive to repair.
Small Leaks or Moisture Near the Unit
Water around a heating system may seem minor, but leaks can signal clogged condensate lines or cracked components. Ignoring moisture risks water damage to floors and walls, and furnace failure. Seattle’s damp climate already challenges indoor air quality, and standing water adds mold concerns. Fixing leaks early protects both your heating system and your home.
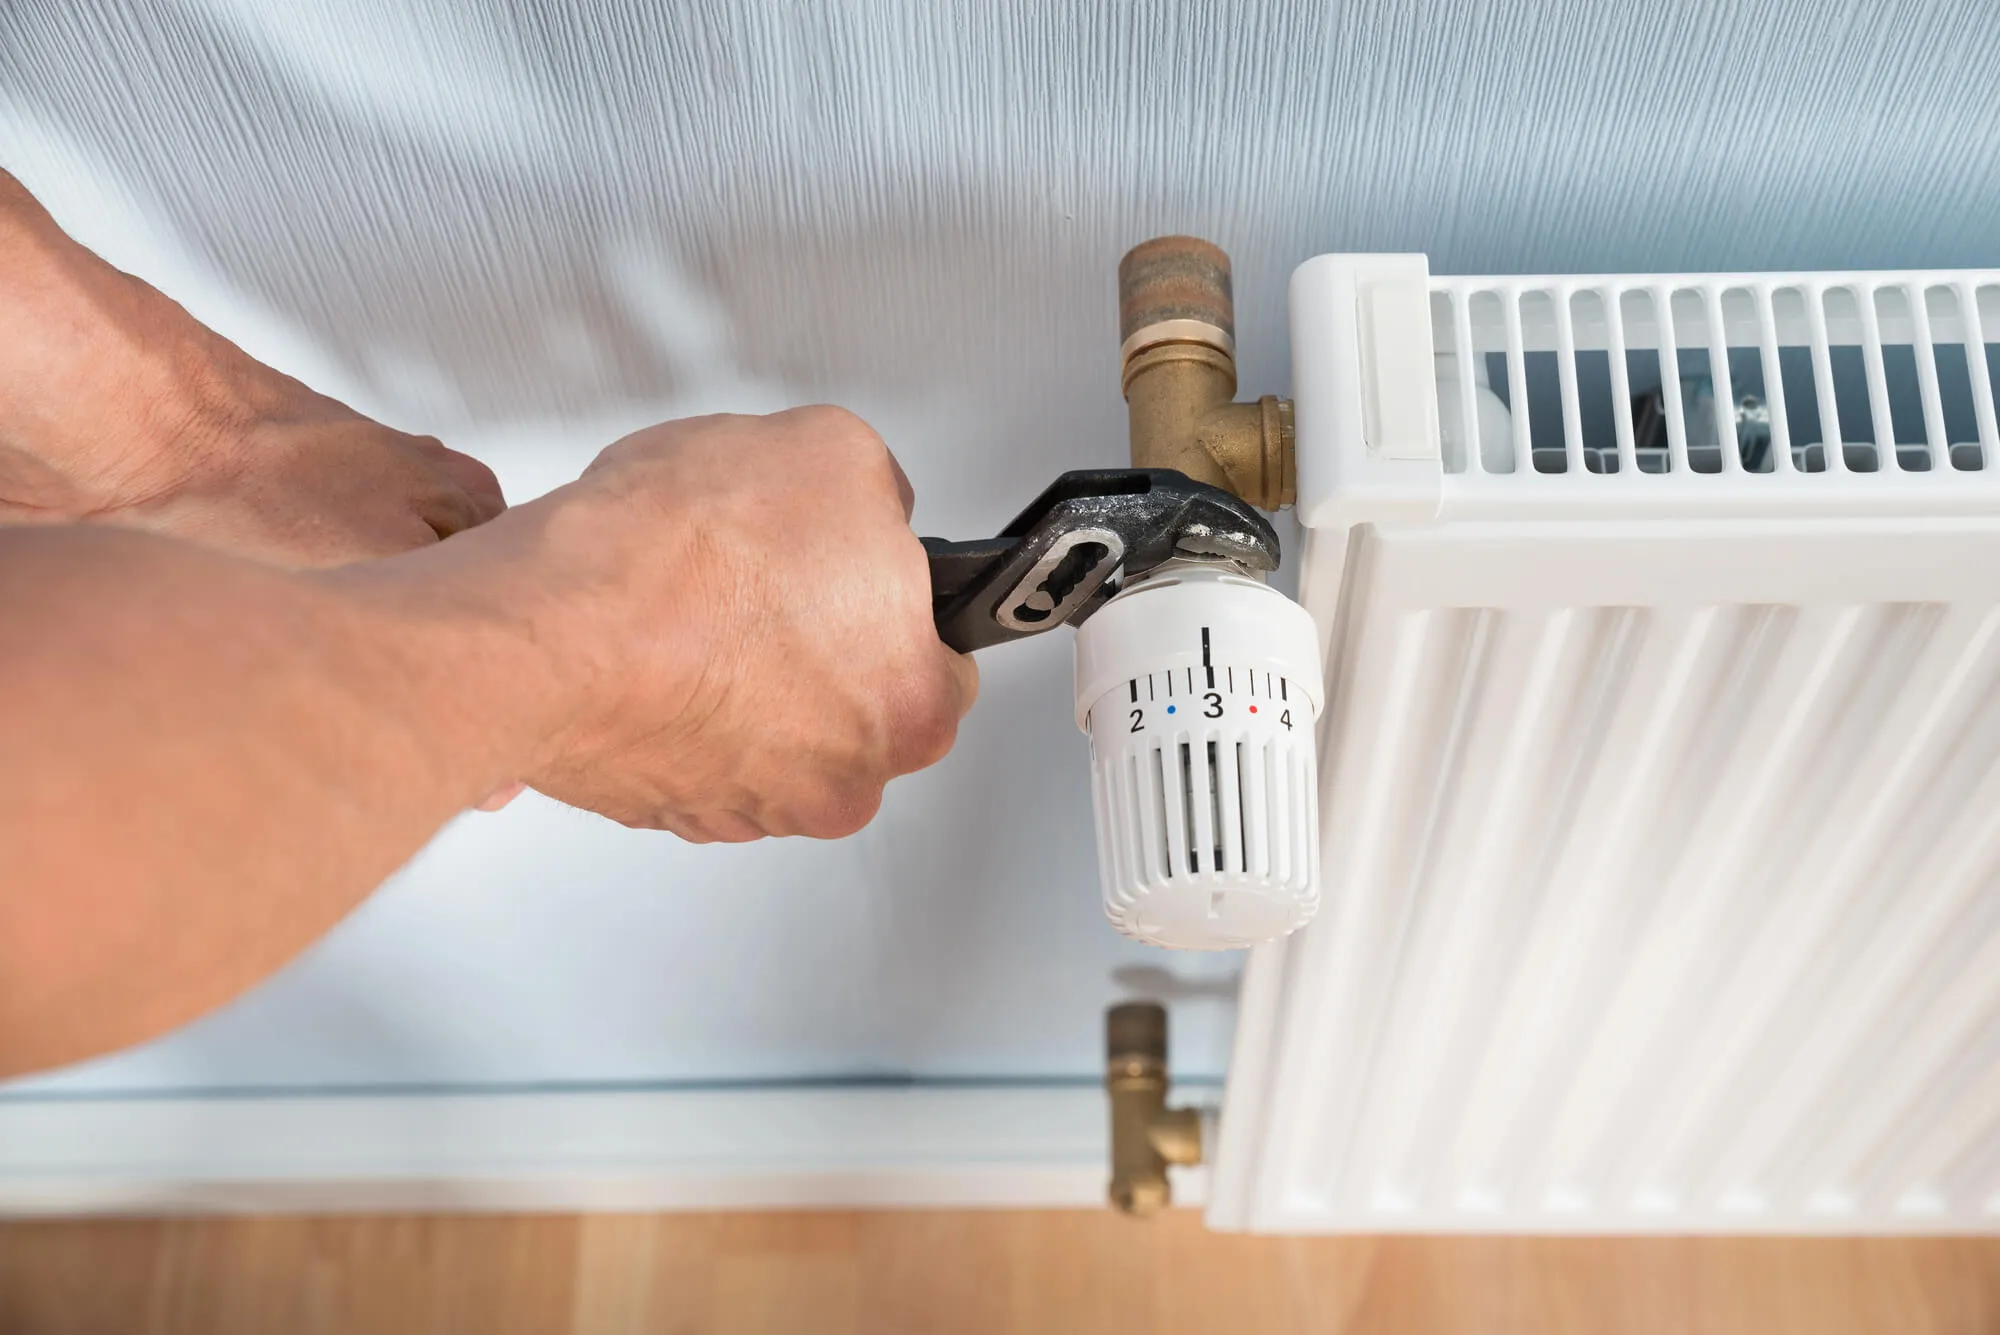
Thermostat Issues
A thermostat that doesn’t match room temperature may not seem urgent, but it’s the brain of your heating system. Small calibration issues lead to inefficiency, discomfort, and wasted energy. Over time, the furnace works harder than necessary, increasing repair needs. Replacing or adjusting a thermostat is affordable compared to long-term system stress.
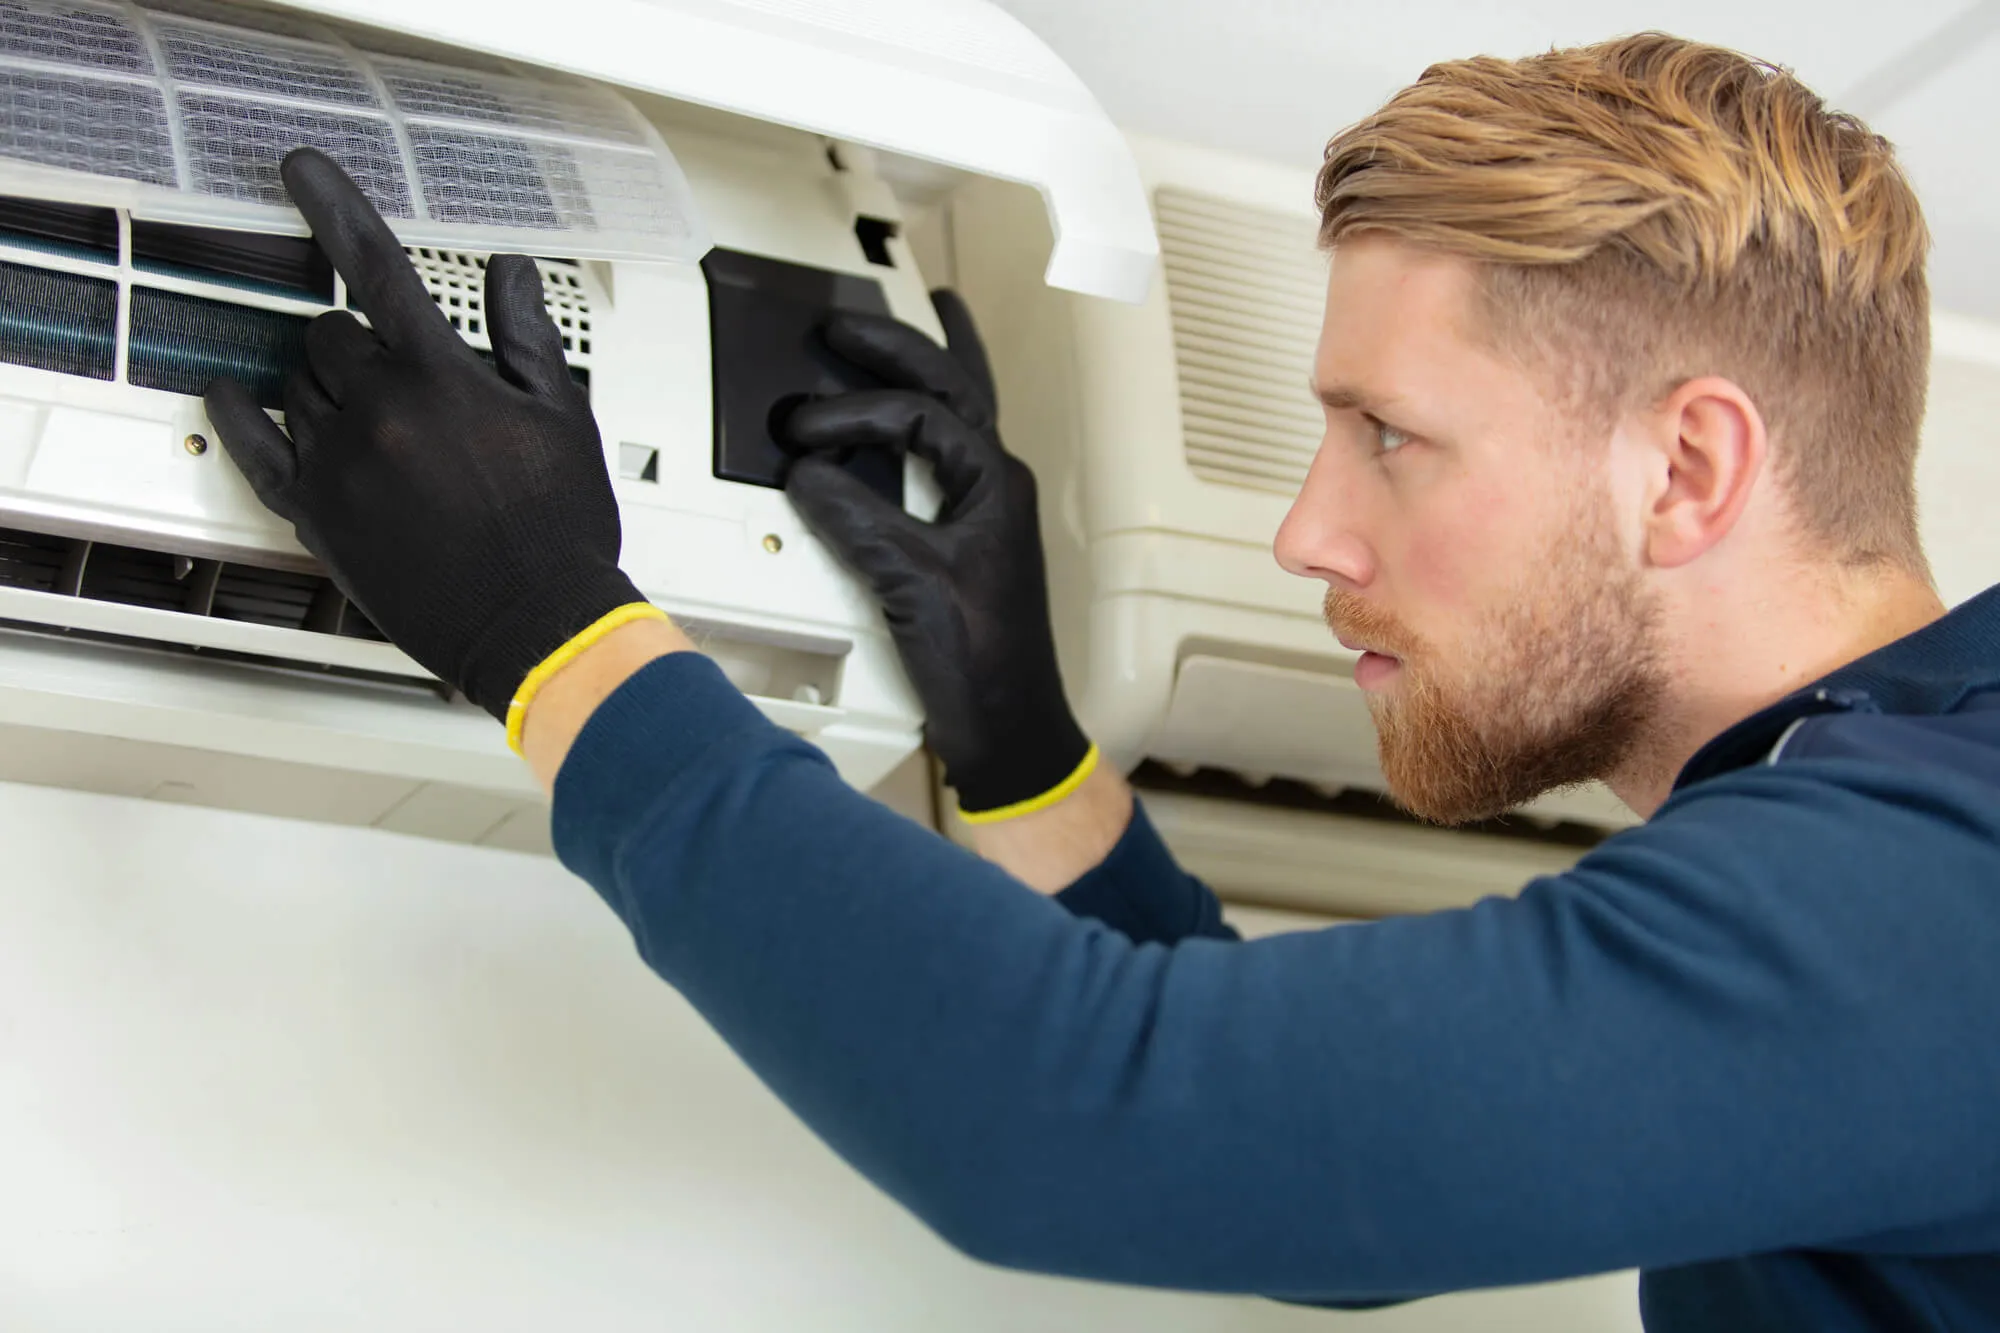
Dirty or Clogged Air Filters
Air filters trap dust and debris, keeping your system clean. When neglected, airflow decreases, parts overheat, and the furnace strains to keep up. A simple filter change can prevent expensive failures such as motor burnout. Something that costs a few dollars to fix can otherwise lead to hundreds in heating repair.

How Seattle’s Climate Makes Problems Worse
Seattle’s damp, cool winters add another layer of pressure to heating systems. Moisture can speed up rust, corrosion, and electrical issues. Systems often run longer hours during extended cold spells, magnifying small inefficiencies.
Unlike drier climates, the Pacific Northwest also sees condensation build-up in ductwork, which can contribute to mold growth and airflow restrictions. Furnaces and heat pumps in this environment benefit from proactive care more than in many other regions.
A rattle or leak that might go unnoticed elsewhere can quickly become serious under Seattle’s weather patterns.
Safety Concerns Beyond Comfort
Heating systems aren’t just about warmth. Cracks in heat exchangers, electrical malfunctions, or gas line issues all start with small warning signs. Ignoring these puts your family at risk of carbon monoxide exposure or electrical hazards. Professional heating repair addresses both comfort and safety, giving homeowners peace of mind during Seattle’s coldest months.
Why Proactive Repairs Save Money
It’s natural to want to postpone a repair when the system still seems to work. But heating systems don’t fix themselves. Small issues multiply, and the eventual bill often includes both repair and collateral damage. A rattling part can damage the blower, a leak can corrode wiring, and clogged filters can burn out motors. By addressing problems early, you spend less overall and extend the life of your system.
Preventive Maintenance: Your First Line of Defense
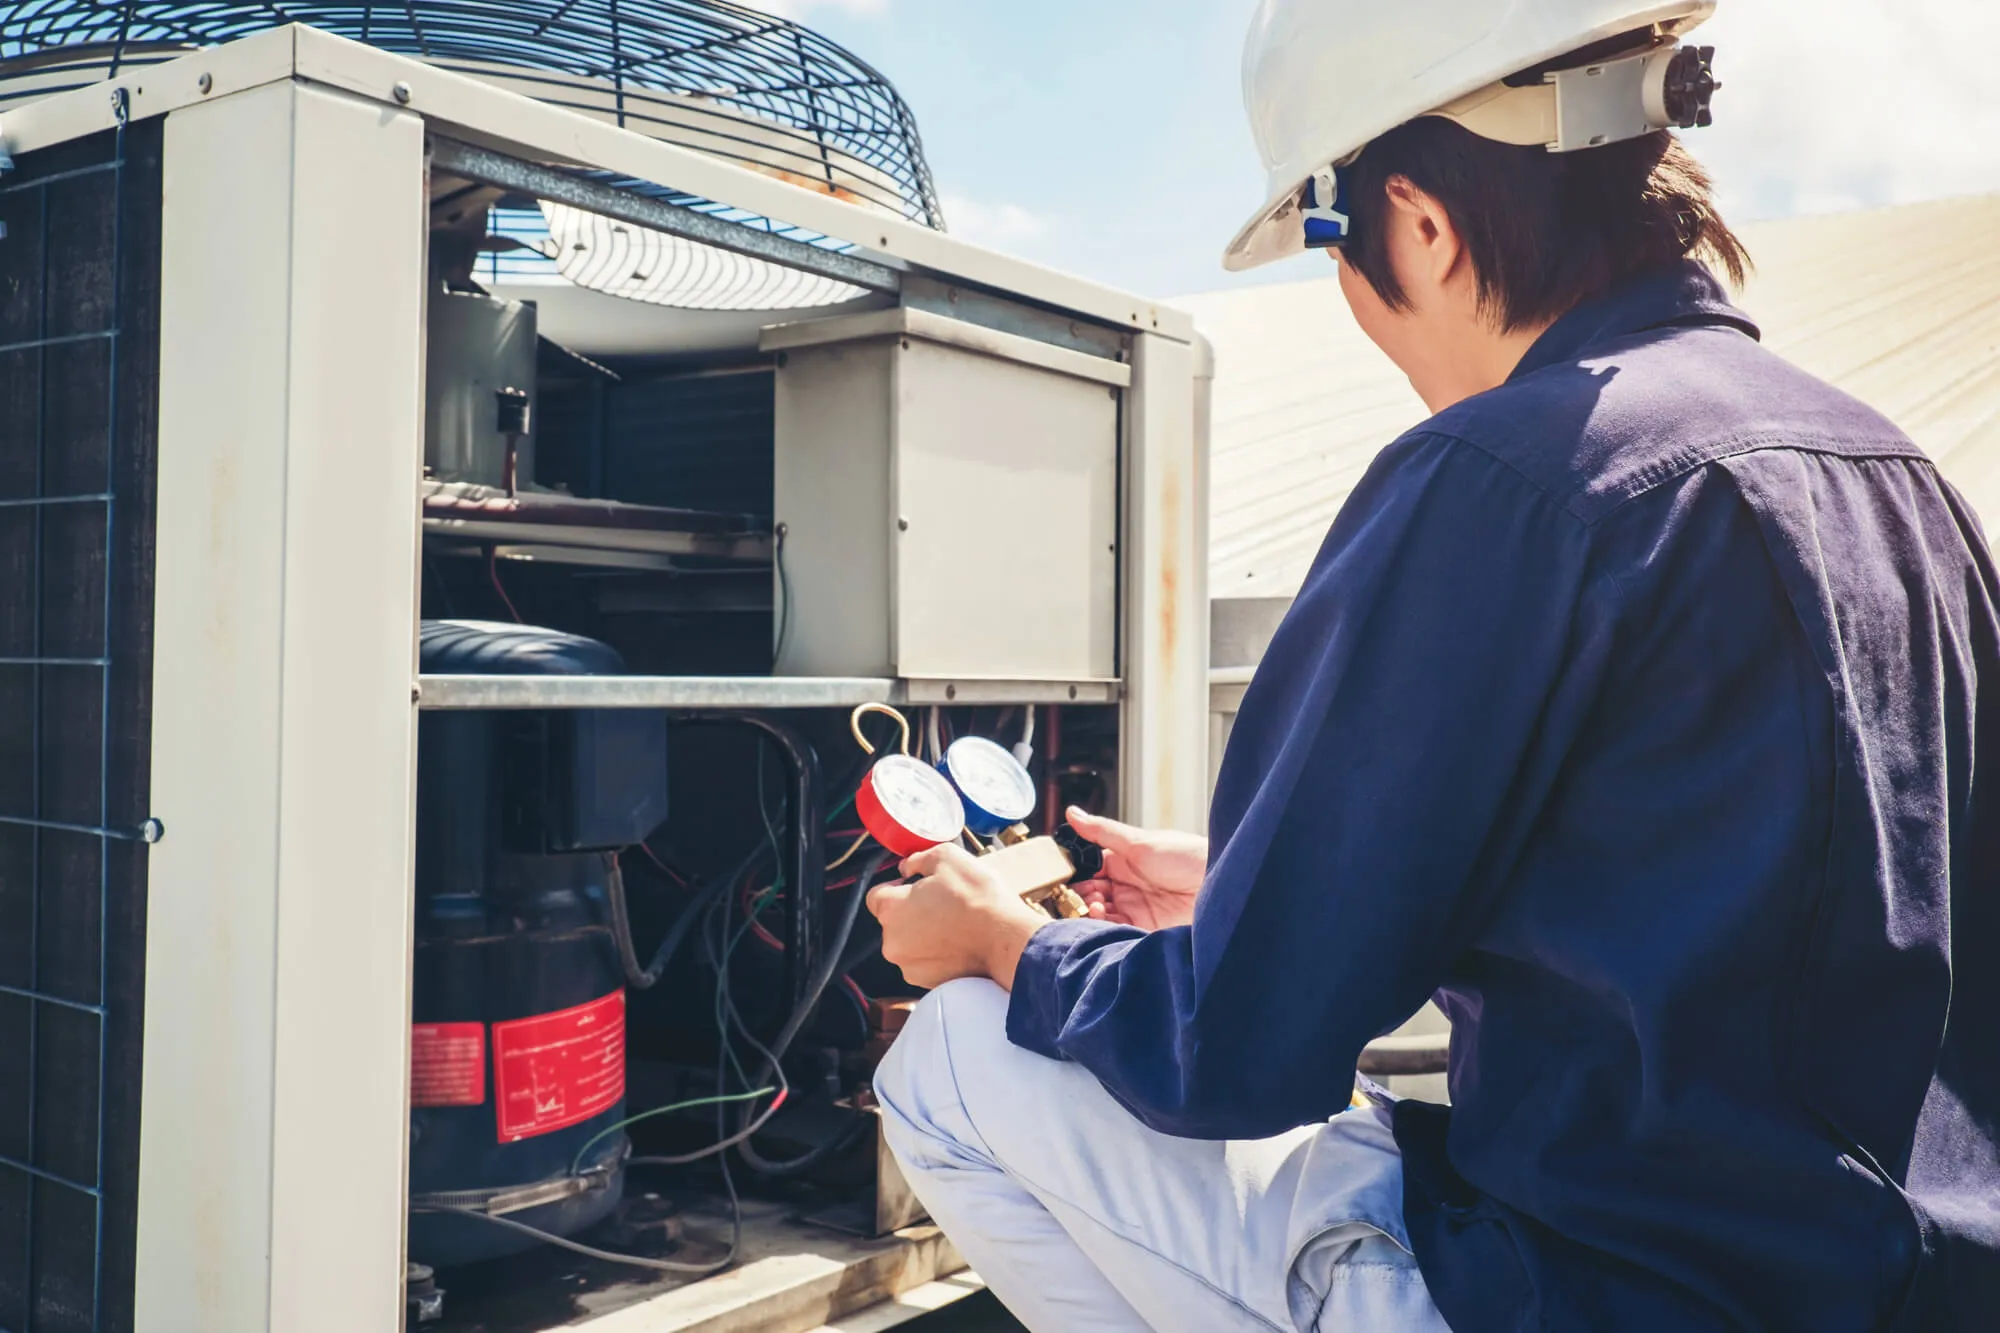
One of the most effective ways to avoid expensive heating repairs is by staying ahead of problems with regular maintenance. While it can be tempting to wait until something breaks before calling a technician, this approach almost always costs more in the long run. Heating systems, like any mechanical equipment, need care to perform well.
Professional tune-ups provide that care by cleaning, adjusting, and inspecting every part of your system. These visits are designed to catch small issues before they spread and to keep heating costs predictable throughout the year.
In Seattle, preventive maintenance is even more important. The city’s damp winters put added stress on furnaces and heat pumps, and moisture can contribute to rust, mold, and electrical wear. During the coldest months, when demand on your heating system is at its highest, annual service can mean the difference between affordable upkeep and an inconvenient emergency call that interrupts your comfort.
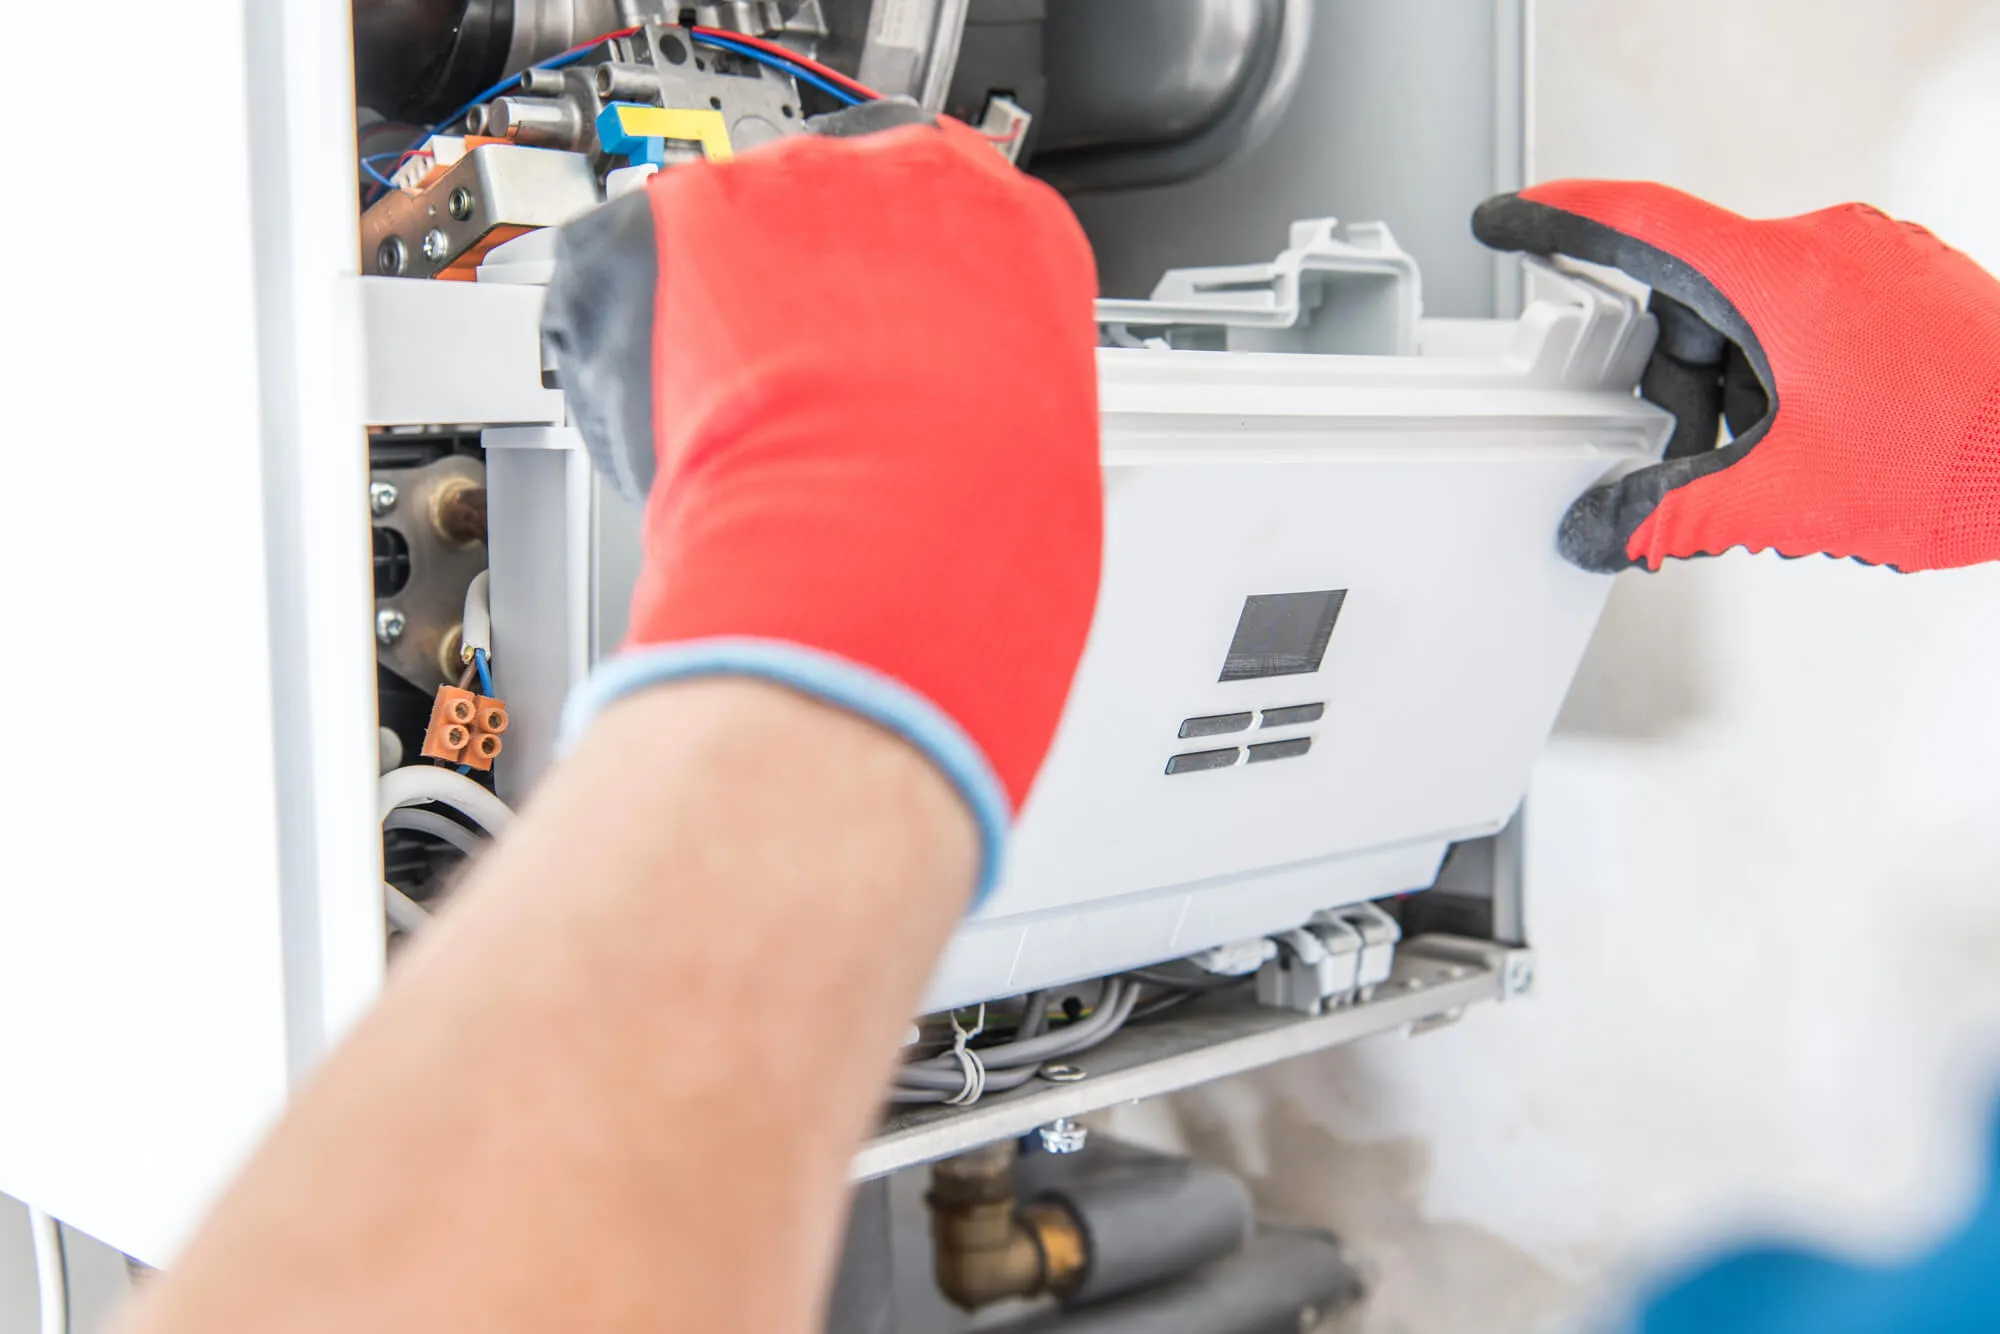
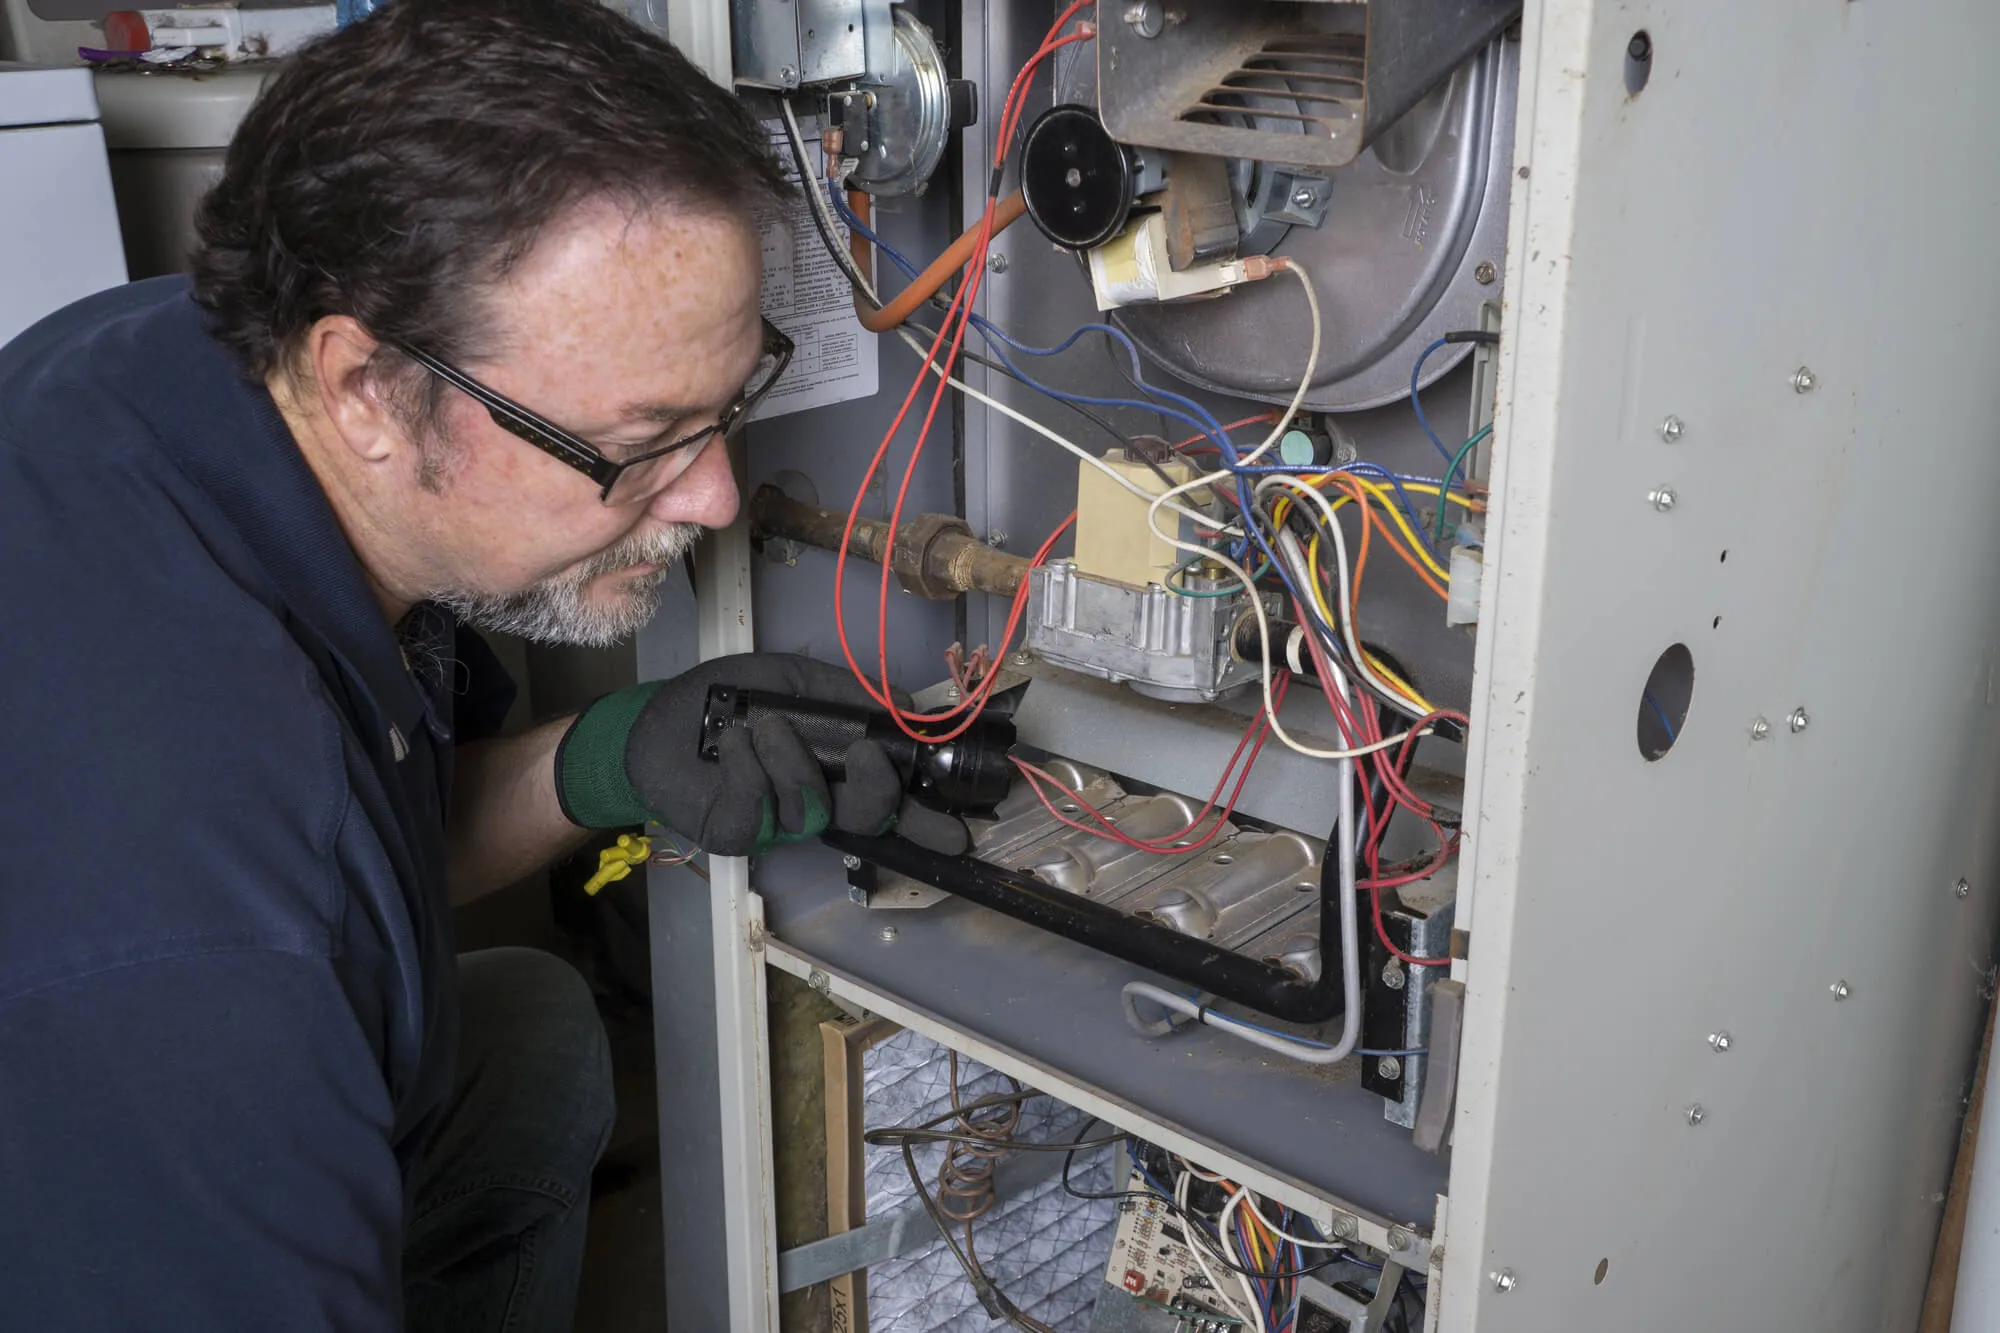
What a Professional Technician Looks For
A skilled technician will go far beyond simply replacing a filter during a routine tune-up. They will:
- Check for airflow issues and duct leaks that reduce efficiency.
- Tighten or replace loose or worn mechanical parts.
- Look for early signs of rust or corrosion before they worsen.
- Inspect electrical safety, wiring condition, and connections.
- Calibrate the thermostat for accuracy and consistent temperature control.
- Assess the heat exchanger for damage that could lead to costly repairs or safety hazards.
This thorough check provides two major benefits. First, it keeps the system running efficiently, so you aren’t paying for wasted energy. Second, it dramatically reduces the chance of sudden breakdowns. Even small adjustments—like clearing a clogged drain line or tightening a loose connection—can extend the lifespan of your equipment by years.
By scheduling maintenance once a year, Seattle homeowners protect their comfort and budget. This simple step pays for itself by preventing big repairs, maintaining safe operation, and giving them peace of mind all winter long.
FAQs About Heating Repair
- How often should I schedule heating maintenance?
Your system should be cleaned once a year, ideally before winter starts. This keeps it clean, efficient, and safe.
- Are repairs more common in older homes?
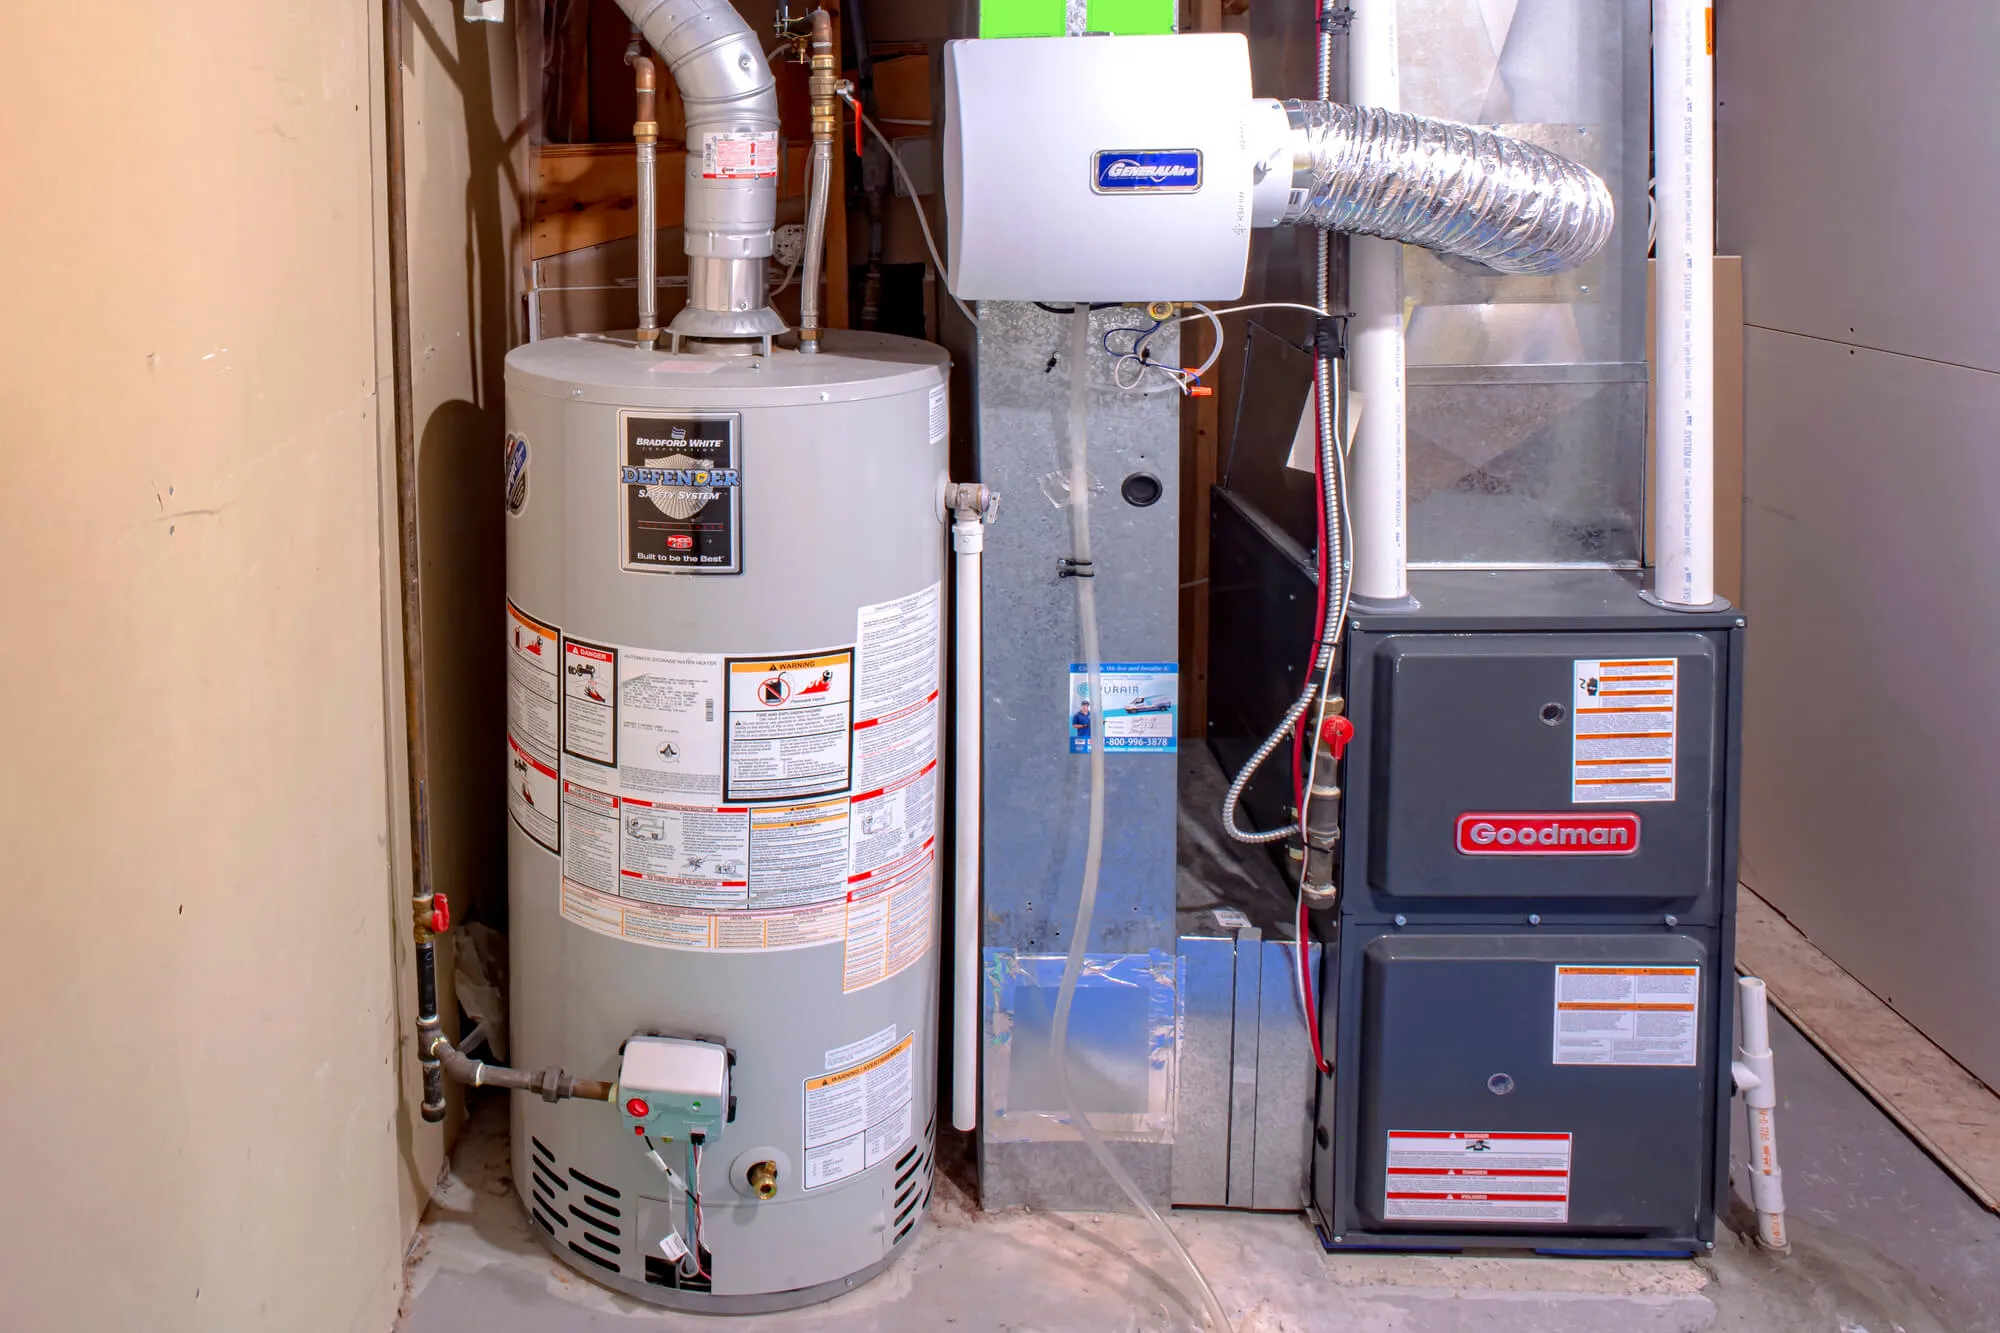
Yes. Many Seattle homes have older heating systems, and age naturally increases wear. Regular inspections help extend their lifespan.
- What’s the most common repair in Seattle homes?
Clogged filters, thermostat malfunctions, and blower motor issues are the most frequent problems technicians see.
- Can small repairs extend system life?
Absolutely. Timely repairs can add years of service to your system by reducing strain on parts.
Protect Your Comfort and Budget with Professional Heat Repair in Seattle
Seattle homeowners know how valuable a reliable heating system is during damp winters. The difference between a minor repair and a costly replacement often comes down to timing. By acting quickly on small signs—uneven heating, strange noises, rising bills—you protect your home, wallet, and peace of mind.
At Greenwood Heating & Home Services, we believe every family deserves dependable comfort without surprise expenses. For over 100 years, we’ve helped Seattle homeowners stay warm with trusted repairs and proactive care. If you’ve noticed small issues with your system, don’t wait until they become big problems. Contact our team today for professional heating repair in Seattle and experience service built on reliability, respect, and lasting value.